|
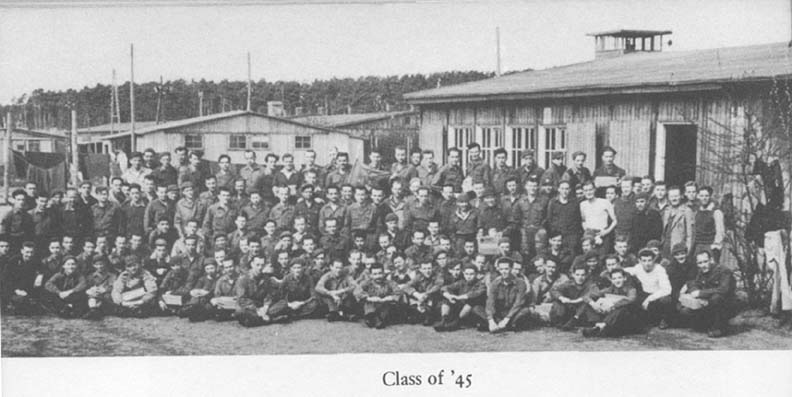
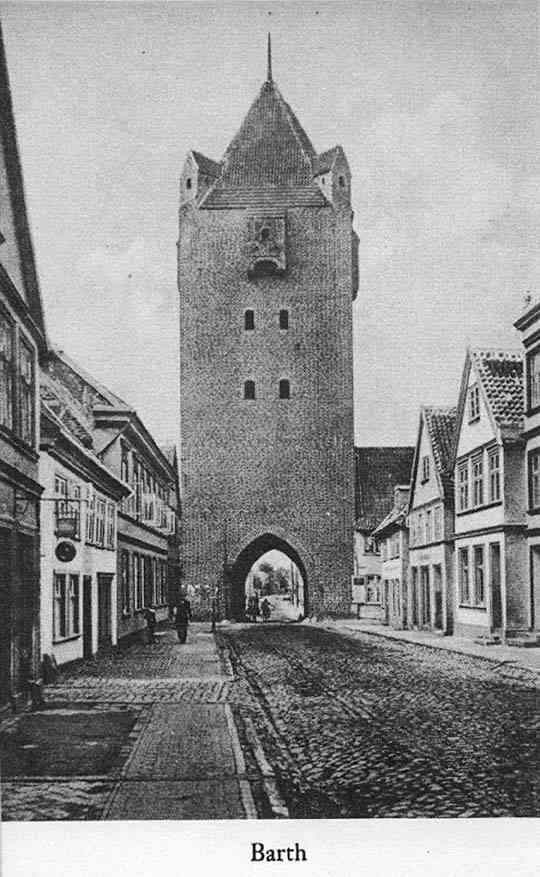
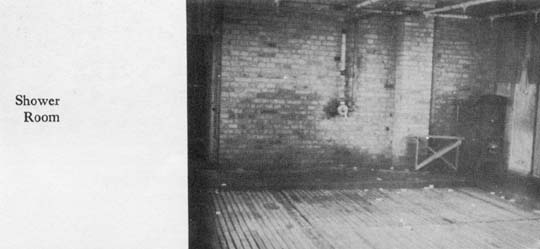
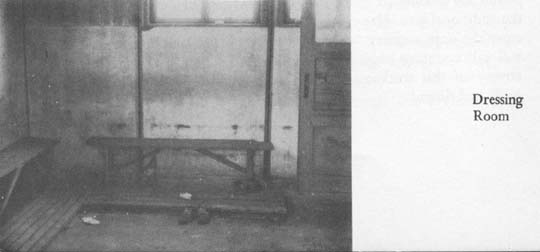
Photos
with comments - From "Behind Barbed Wire" by
Morris J. Roy |
|
|
|
Photos
with descriptions taken before and after liberation
at Stalag Luft I |
|
Click here to view all these
plates full size - or click on individual thumbnails to view, individually. |
 |
 |
 |
 |
 |
 |
 |
|
|
From Dana Harding -
son of
William J Harding |
|

|

|
 |
|
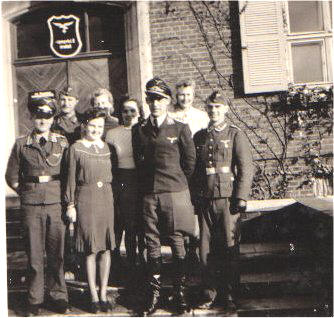
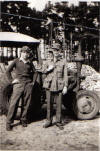
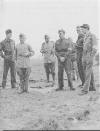
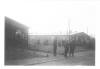
Barth Commandant and administration |
Liberation May 1945 |
WIlliam J. Harding |
|
 |
 |
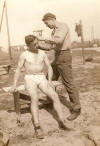
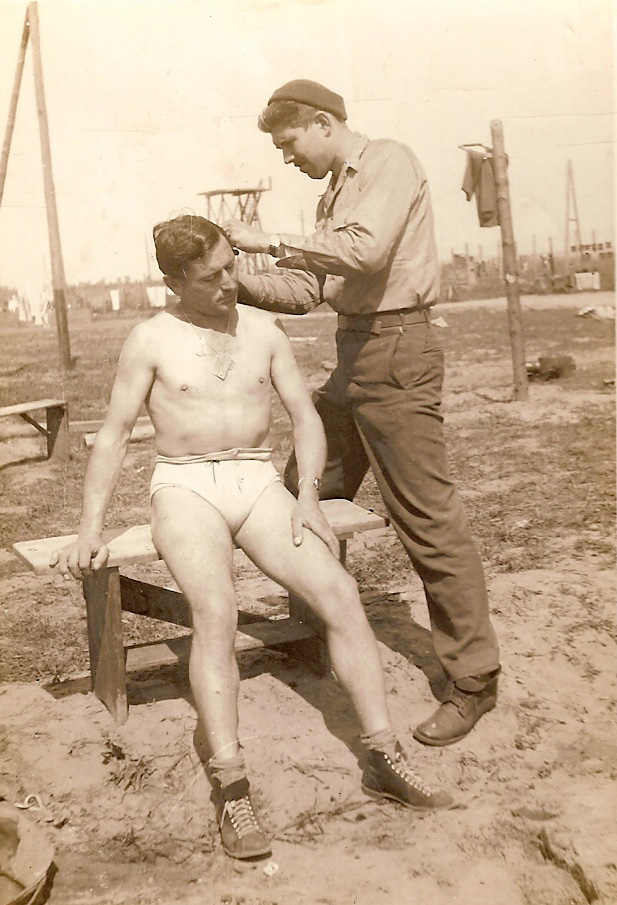
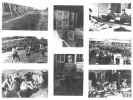
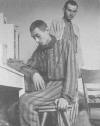
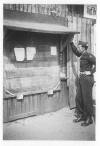
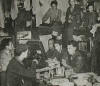
POW getting hair cut - notice the Stalag Luft I Dog
Tags he is wearing (along with US issued ones) |
|
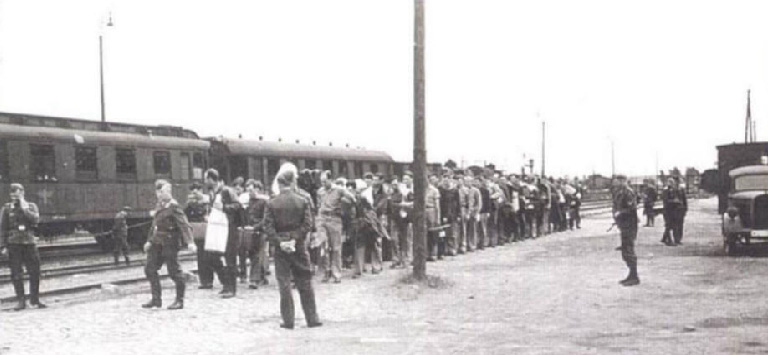
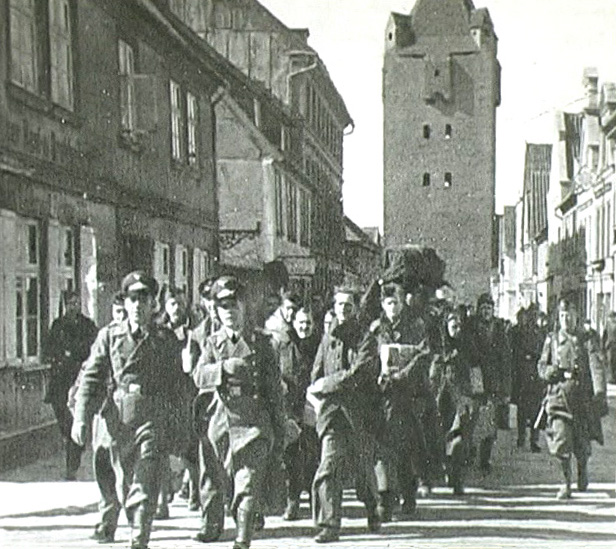
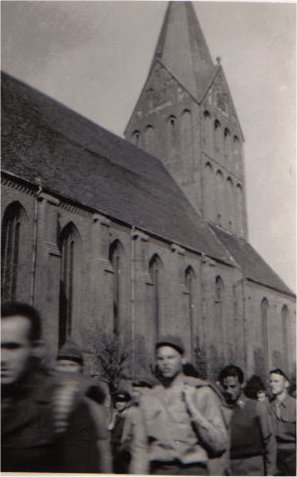
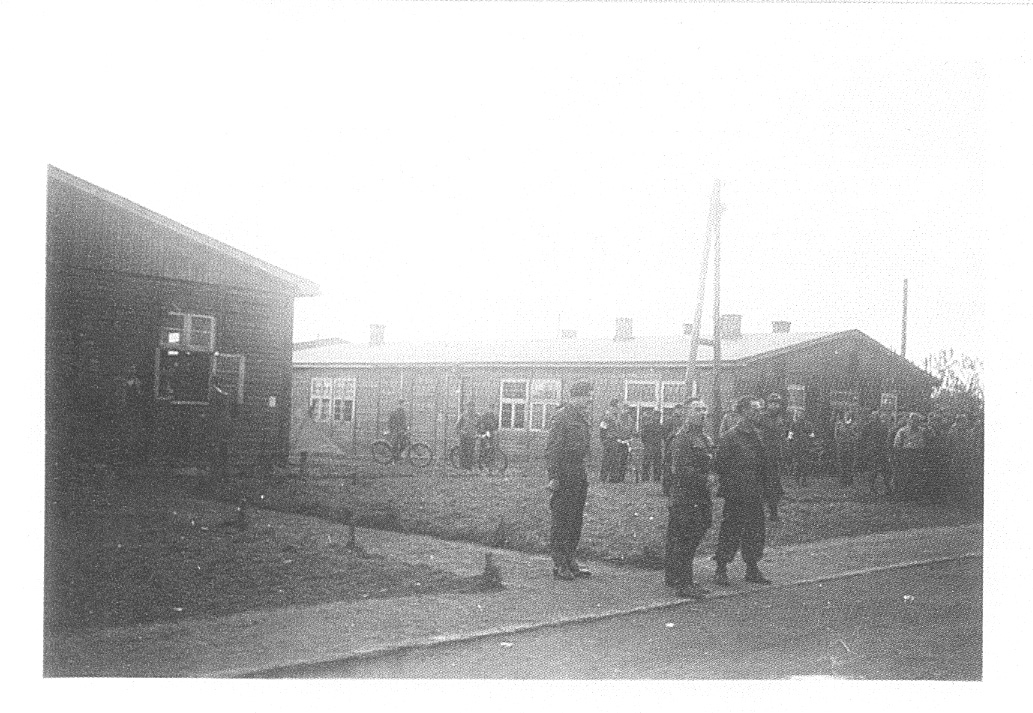
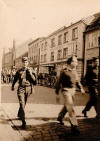
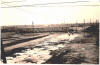
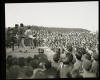
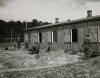
POWs visiting Barth after liberation |
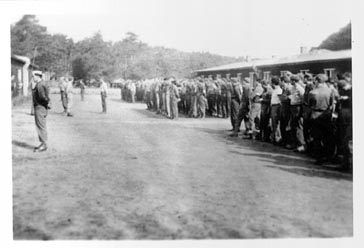
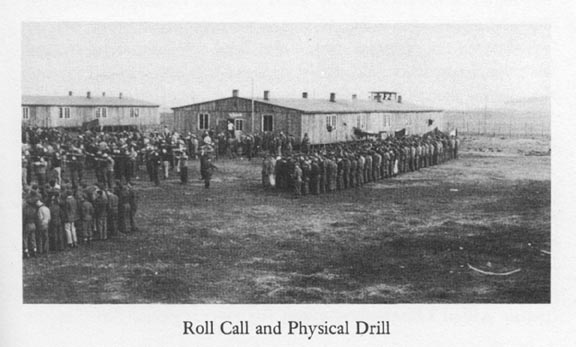
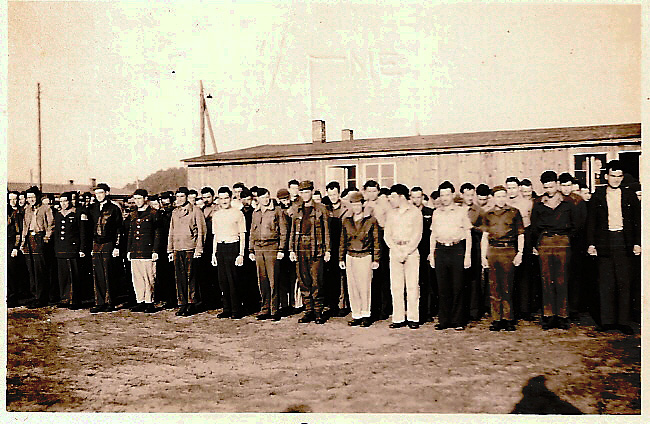
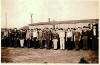
POWs line up for roll call |
|
 |
 |
 |
|
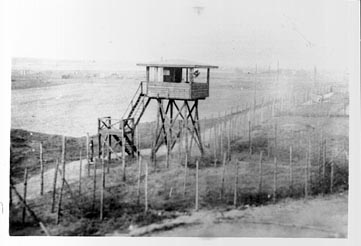
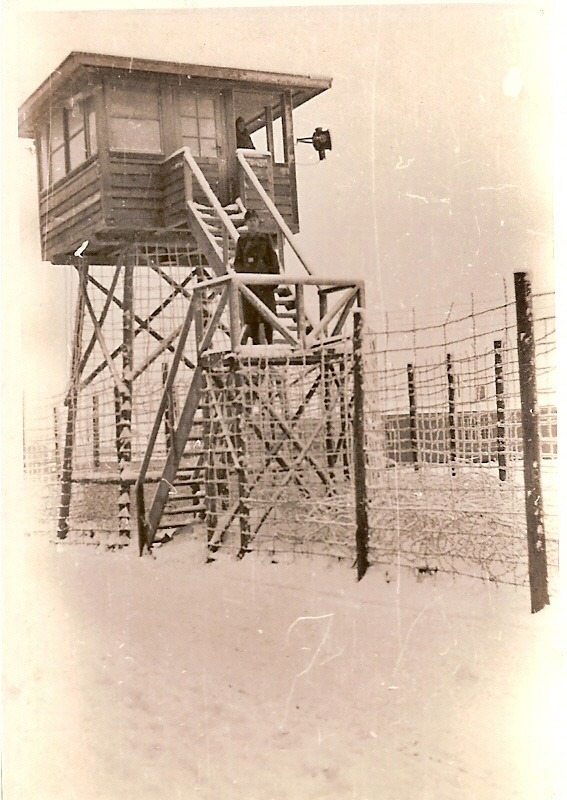
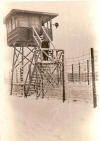
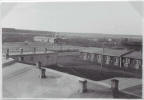
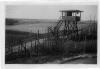
Snow covered Guard Tower in winter |
Stalag Luft I |
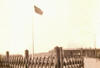
US Flag after liberation |
|
 |
|
|
|
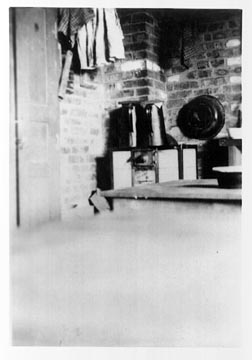
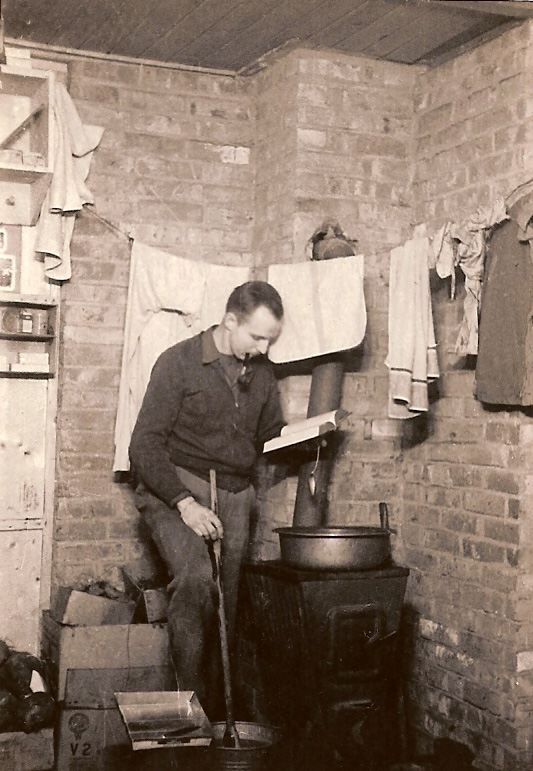
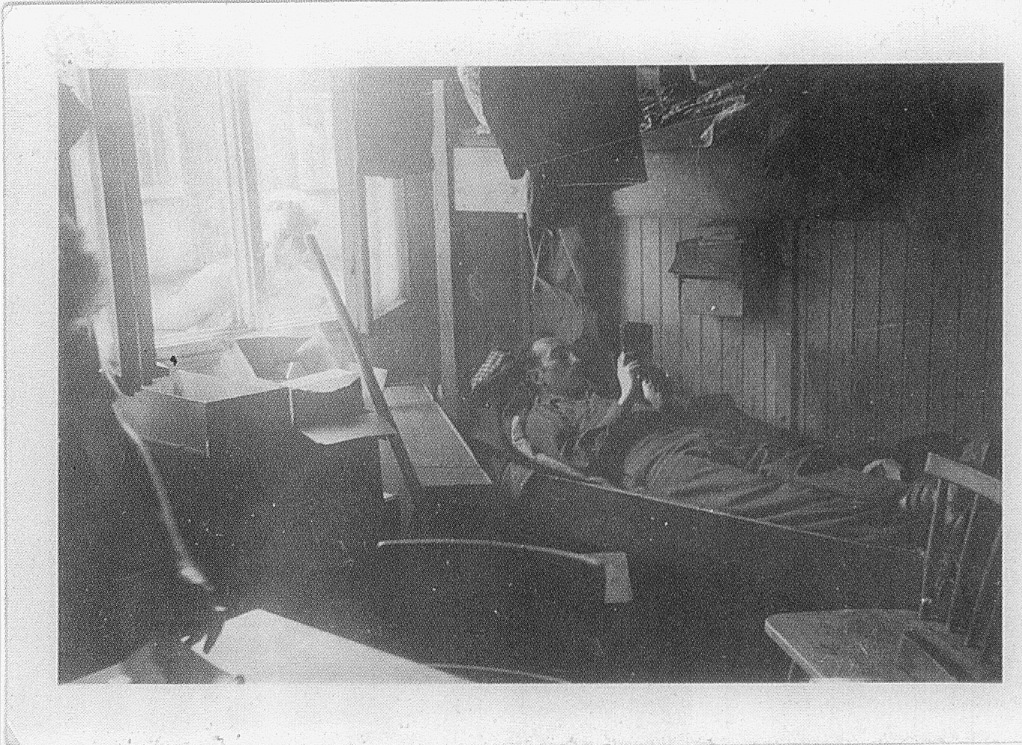
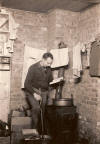
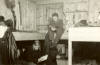
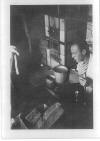
Capt. Don Warren of North 2, Barrack
5, reading and doing laundry |
|
|
|
|
Photos from the book "From Wings to Jackboots" by Barry Keyter
|
| |
 |
 |
 |
|
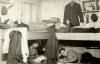
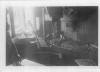
South Compound Barrack 6, room 18
|
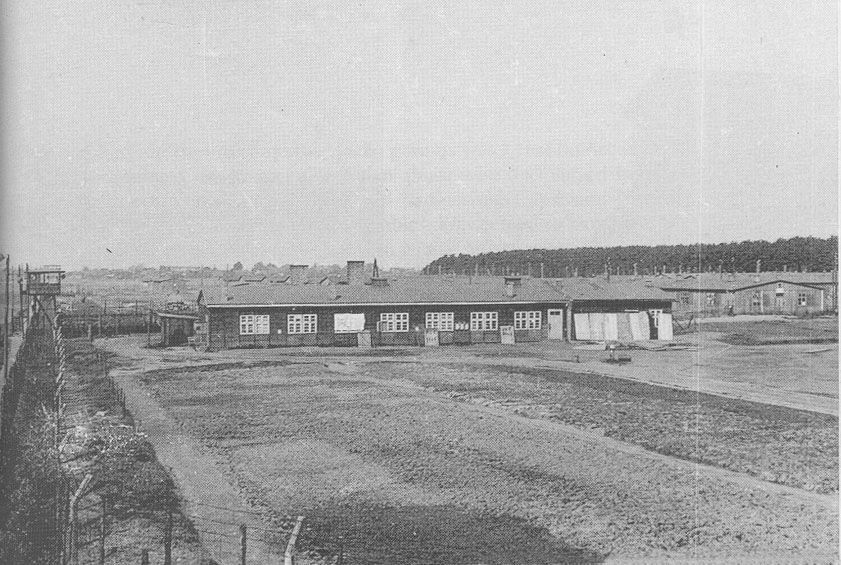
Guard
room and isolation cells - South Compound |
The 'Mess' behind the kitchen in the South
Compound |
|
|
|
|
 |
 |
The Theatre / Church - South Compound
|
Guard duty with the Russians after liberation |
French political prisoners from the
concentration camp in Barth |
|
|
|
| |
|
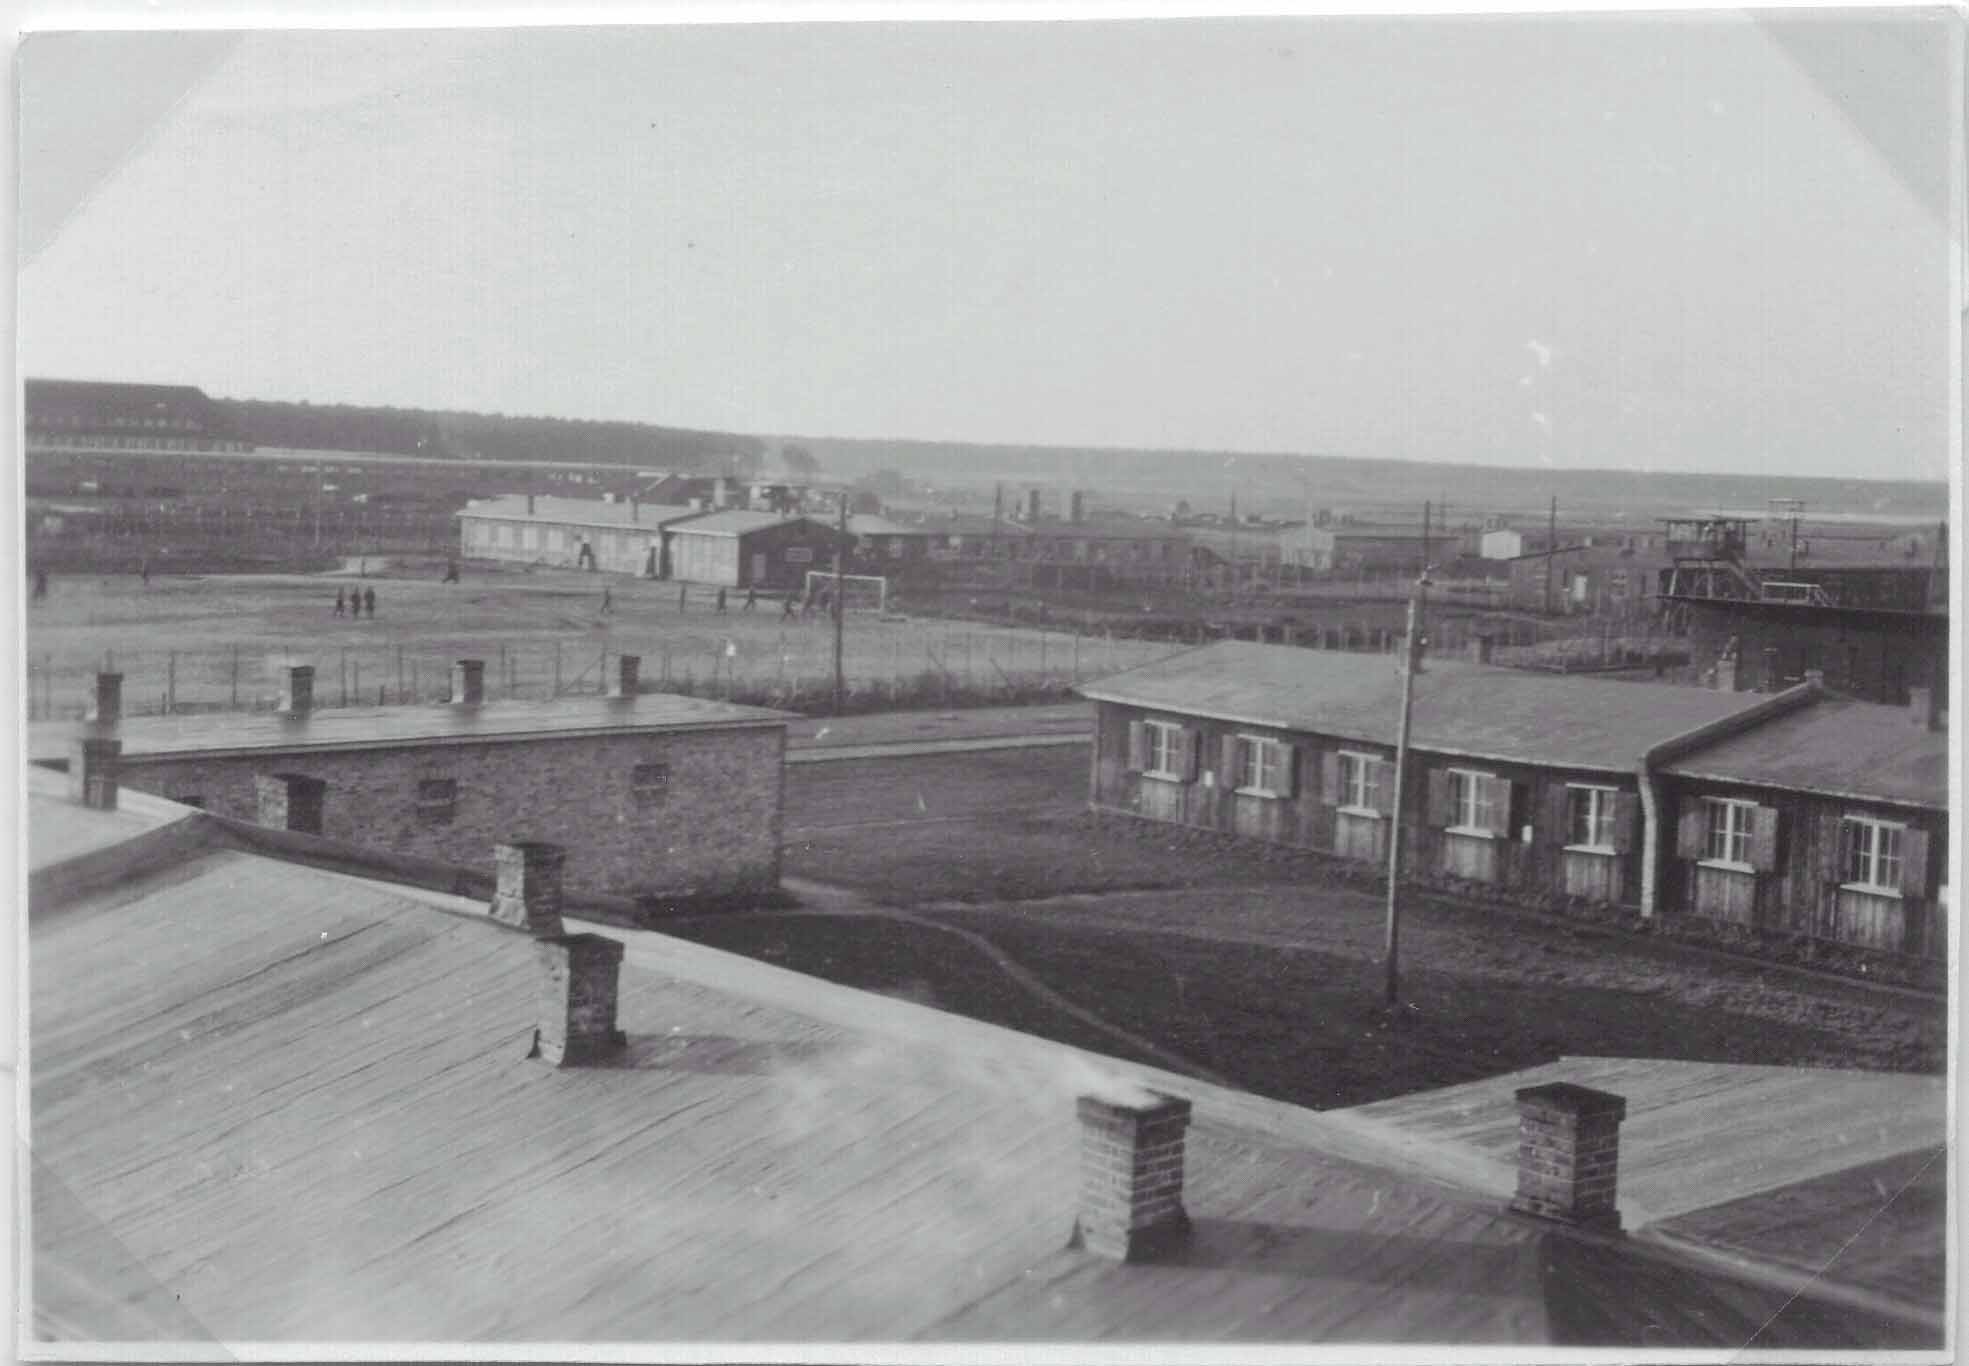
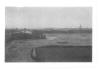
South/West Compound and Sports Field at Stalag Luft I in Barth,
Germany during World War II. |
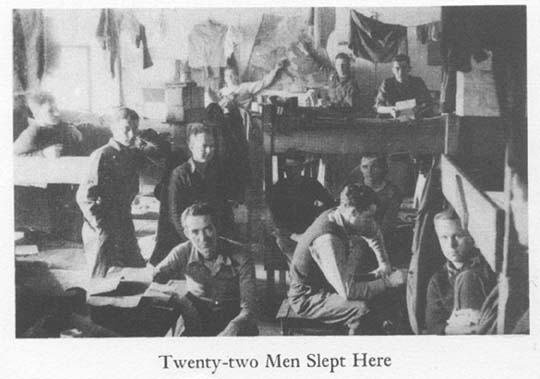
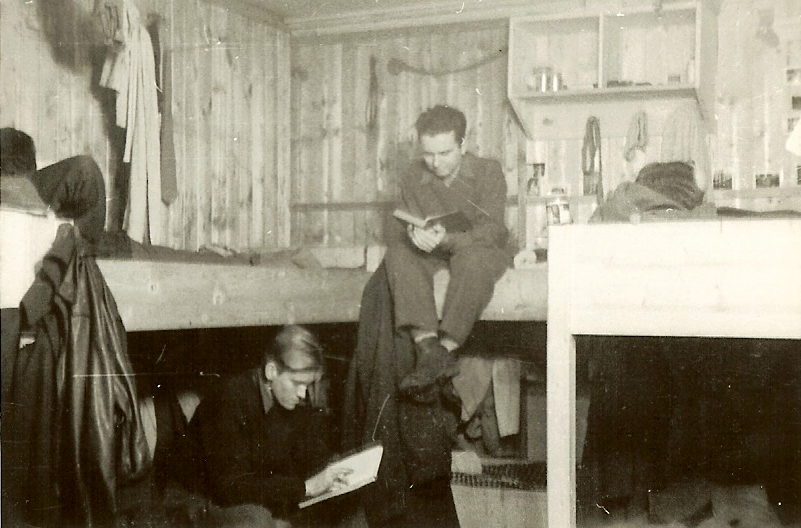
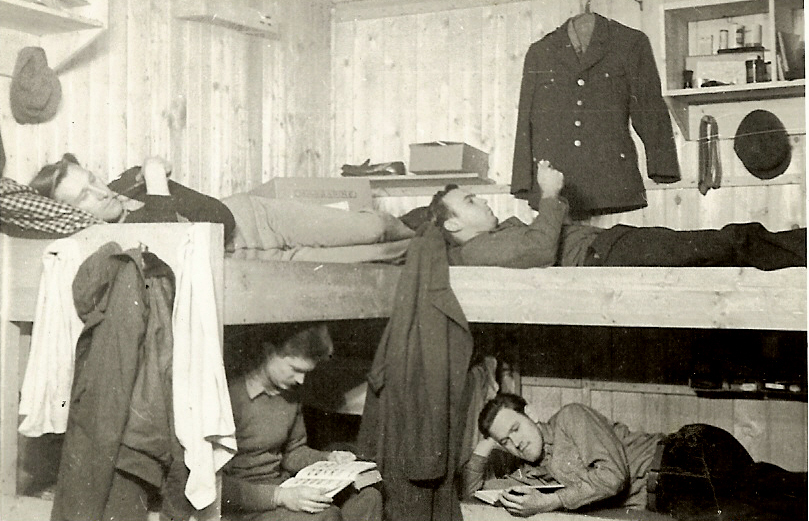
Inside the Barracks at Stalag Luft I |
Stalag Luft I Prisoners of war passing time reading in their
barracks. Harold "Hal" Peters is in upper left hand corner with pipe. |
|
|
Photos below compliments of Fred Kennie
and Edwin Davidson
|
 |
|
 |
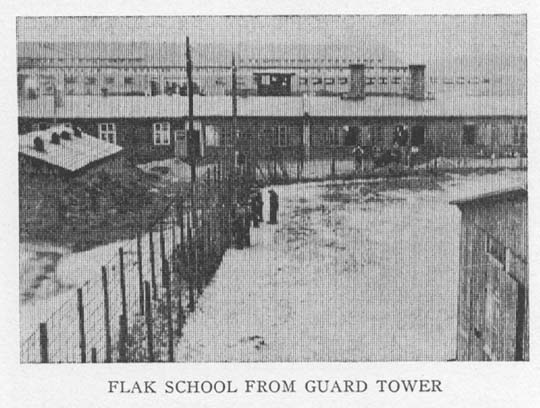
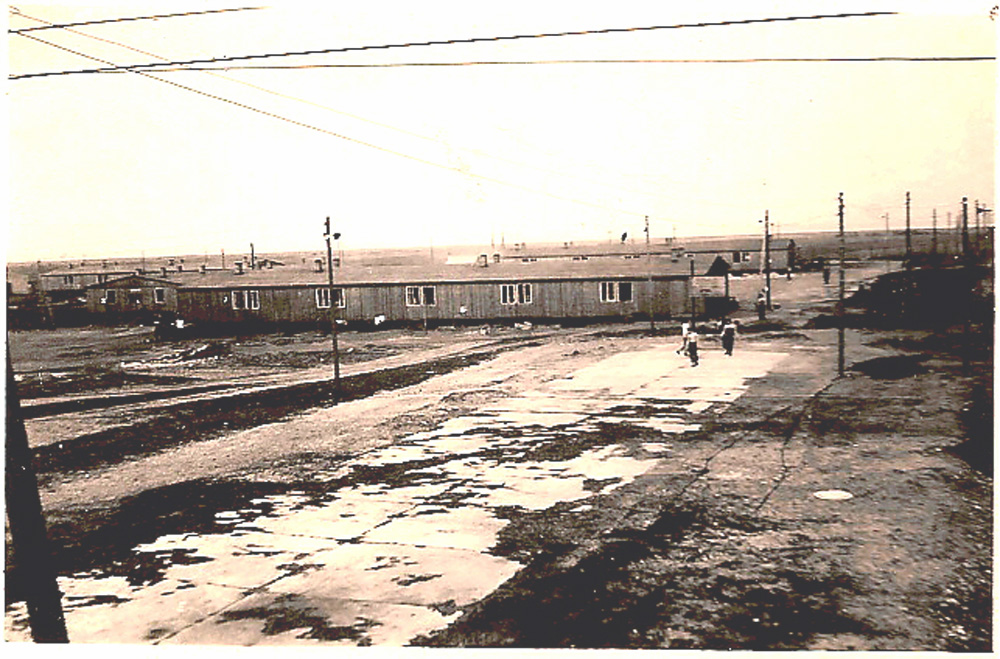
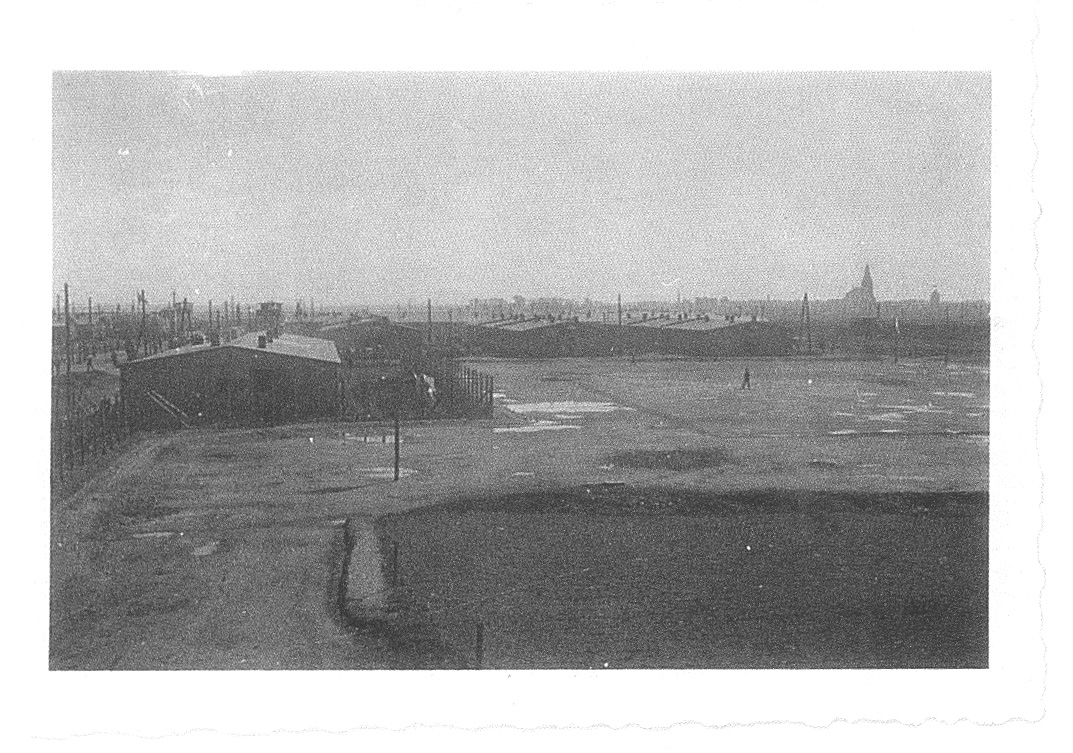
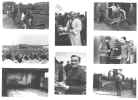
| Flak School as seen from our POW camp. |
South
Compound taken from one of the guard towers. Barracks 1, 2 & 3
in the picture. |
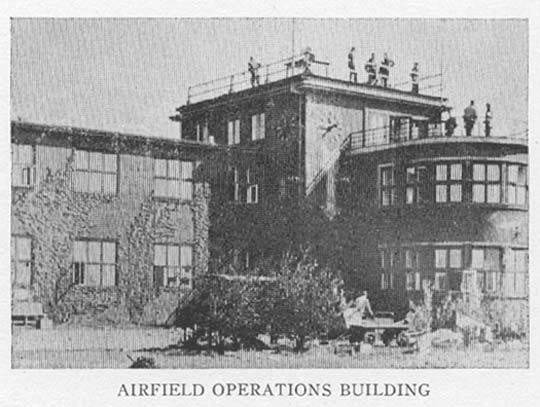
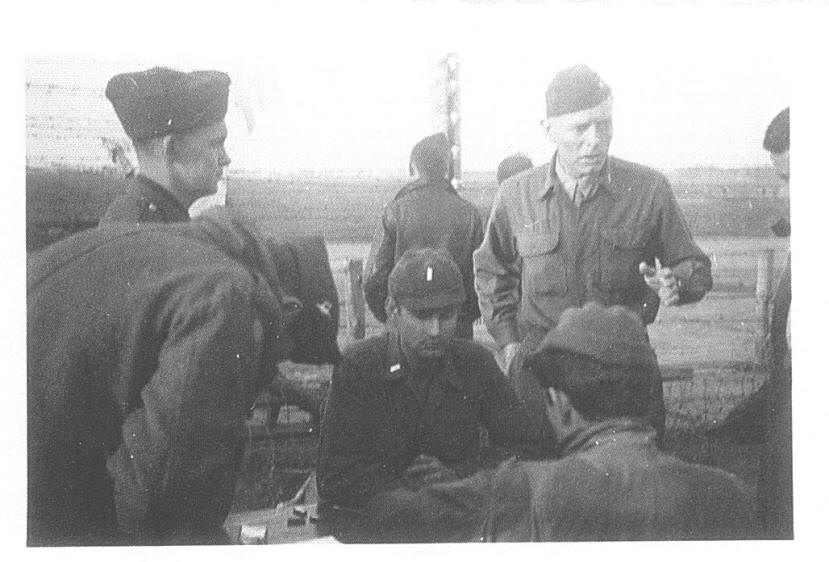
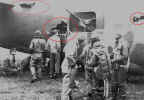
Barth
Airport, May 13, 1945 note charged wire. Col. Malmstrom, Capt.
Smedley (leaning over) P-38 model he made showing on his cap.
This is departure day from Barth. |
| |
|
|
|
|
|
| Roy
Dutton reading bulletin board. |
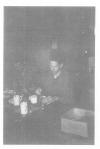
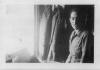
Grady Embree
shaving, Room 7, Block 2, South Compound |
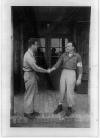
Del
Meyers saying goodbye to Dwight Hartles. |
| |
|
|
|
 |

|
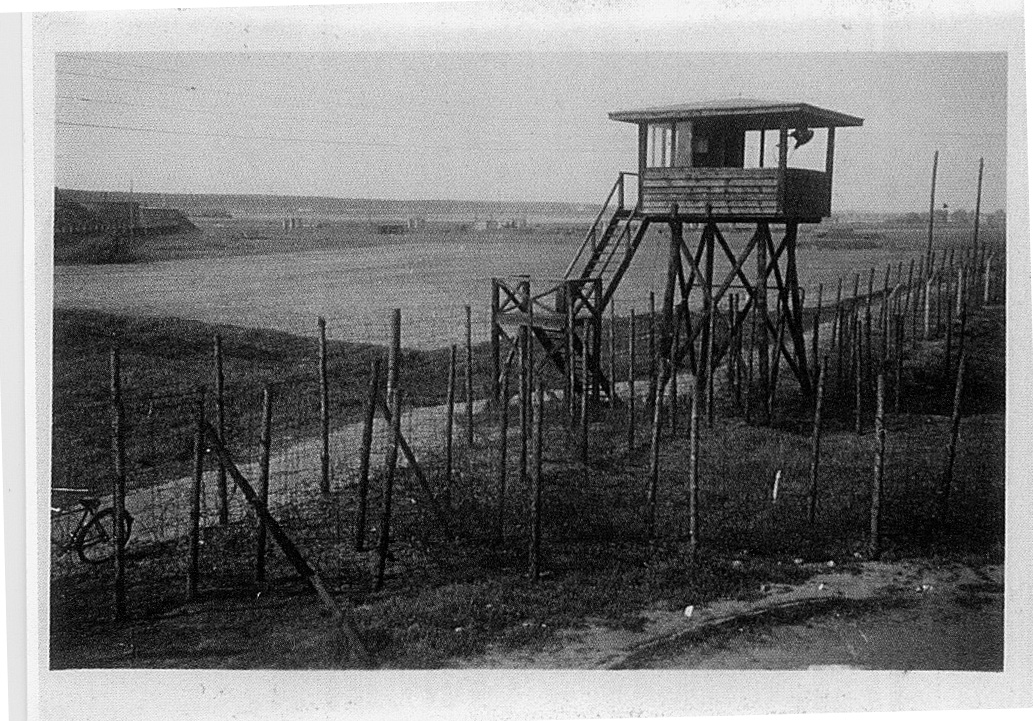
| Guard
tower located near the kitchen, South. Flak school is just out
of the picture to the left - across fields. |
A Russian
giving a speech. Major Pritchard behind Russians. |
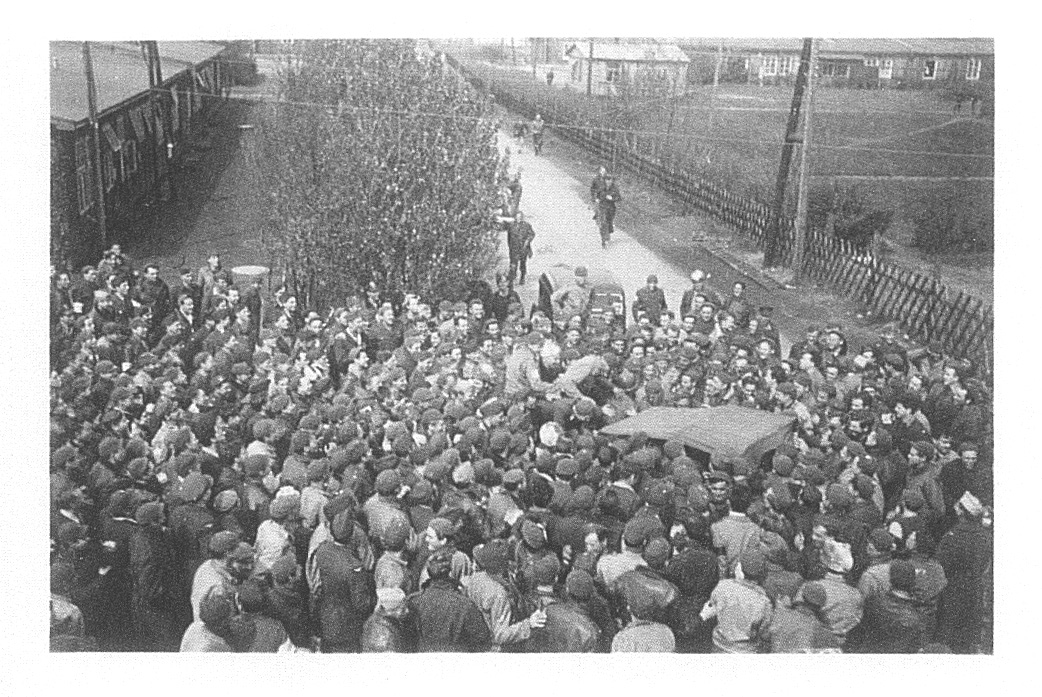
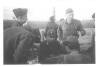
Mitch Mulholland being presented w/ Sr. Pilot Wings, May 1945. Art
Smedley is doing the honors while Ed Cannon , Fred Kennie |
| |
|
|
 |
|

|
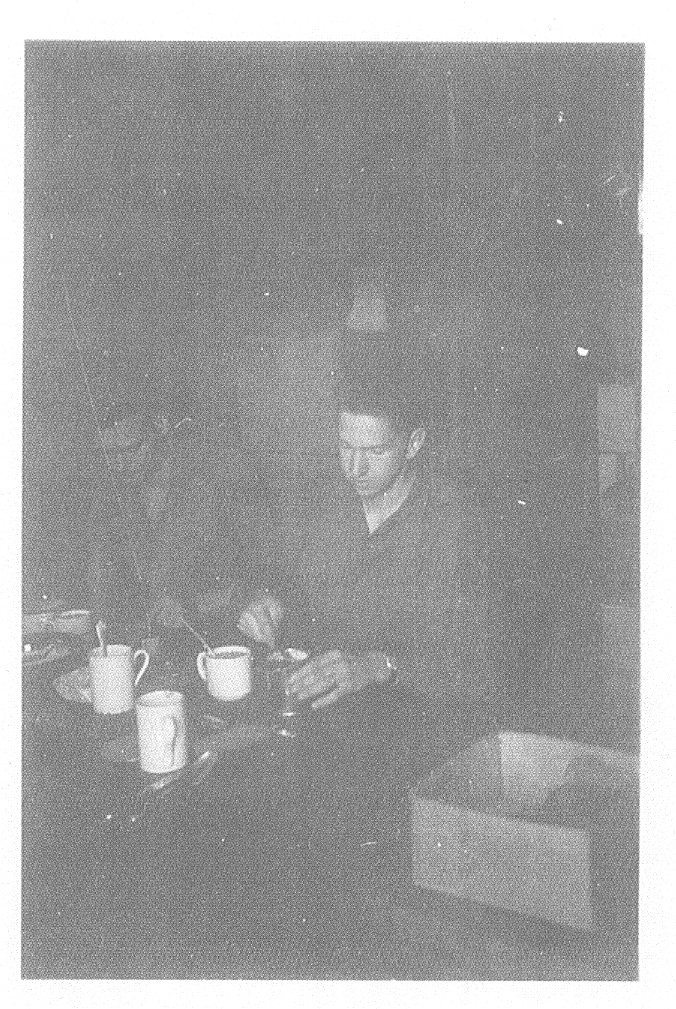
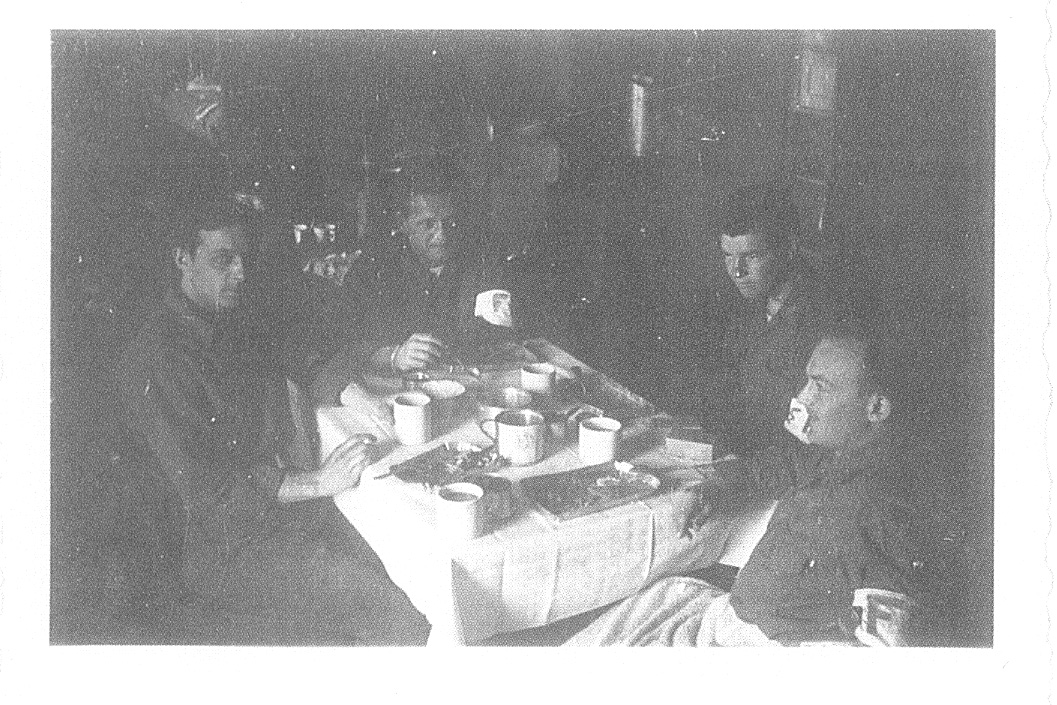
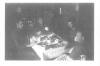
| Phil Janney (hard to see him) and Walsh at chow in room 7, Block 2, South.
Following the arrivals of the Russian troops. |
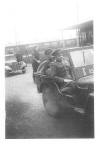
Arrival
of Americans in a jeep. |
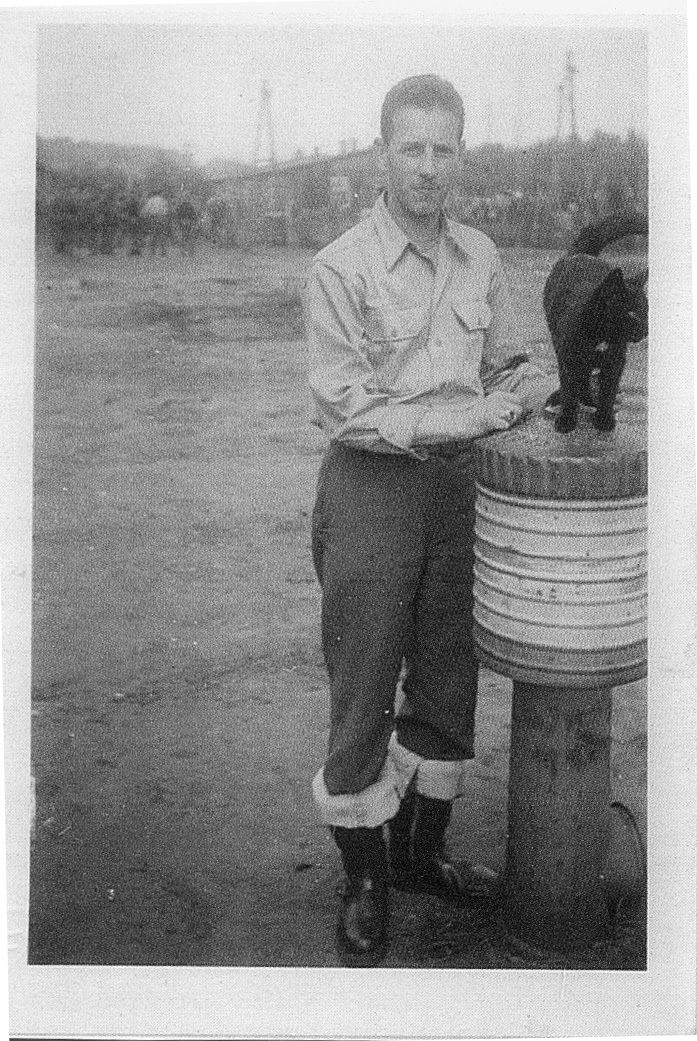
Phil Bern
and our beloved Blackie, the only cat that survived the month of
March 1945. |
| |
|
|

|

|
 |
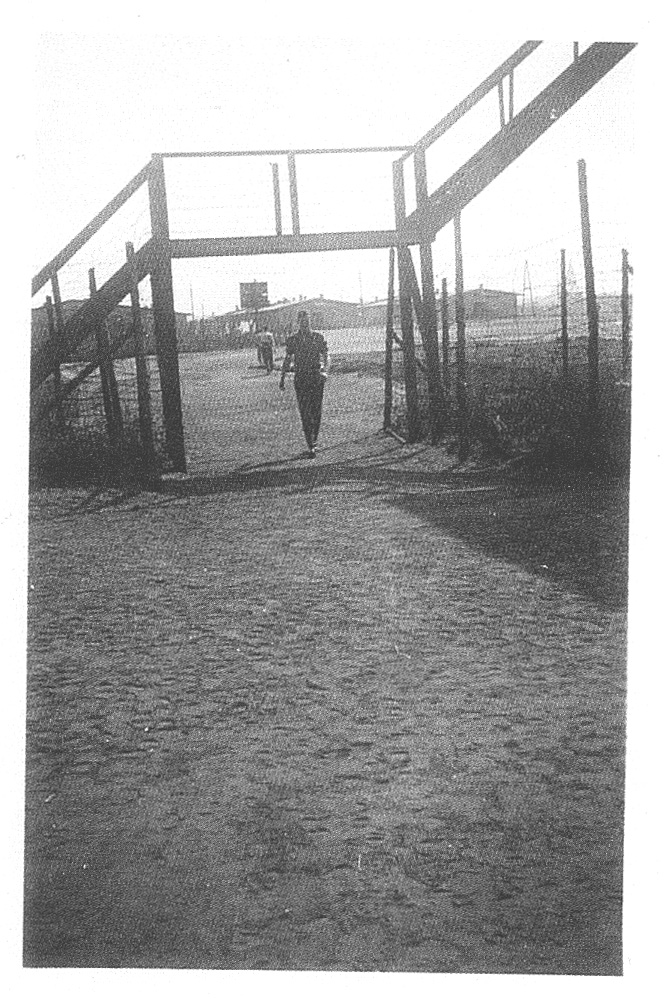
| Phil Janney coming through the gate between the South Compounds. |
The
arrival of the first Americans. |
Russian
"wheels". Major Pritchard in background |
| |
|
|
|

|
|
| Ed Cannon |
Del Myers
and Art Smedley examine a German sword. Del obtained the camera
after the Germans fled the arrival of the Russians. |
Dwight Hartle, Keathley, Sands, Joe Martin as "Field Forces" |
| |
|
|
|
|
|
| Ed Cannon
reading on Schisler's sack. Phil Janney at the window of Room 7,
Block 2 South. |
Jerry
Kites, Ju88 and FW 190 |
|
| |
|
|
|
Photos below compliments of
Roy Kilminster
- RAF POW - to read his report on the
secret activities at Stalag Luft I
click here
|
|
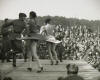
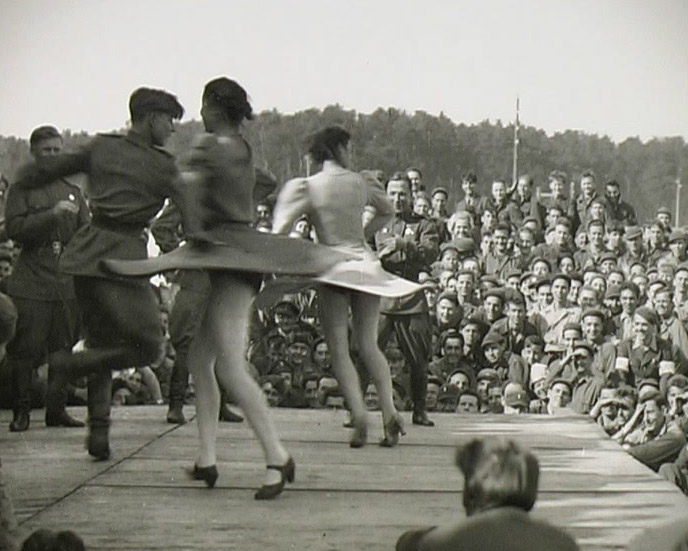
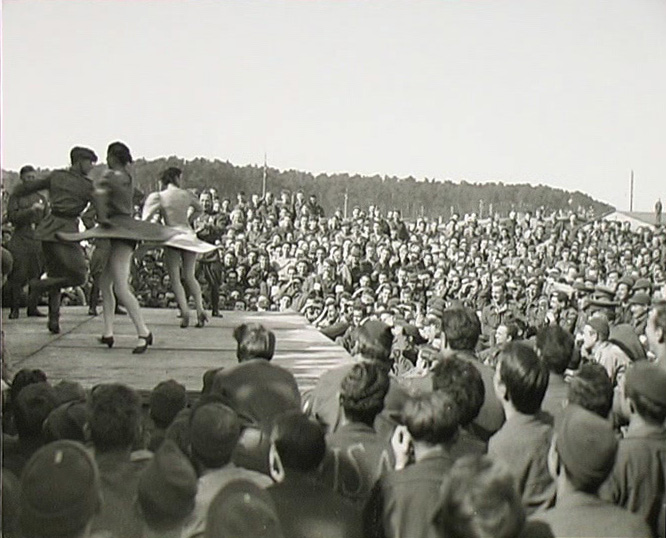
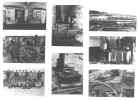
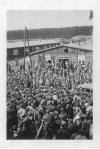
Russian Dance Troupe
entertaining the POW's at Stalag Luft I in Barth after liberation |
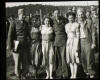
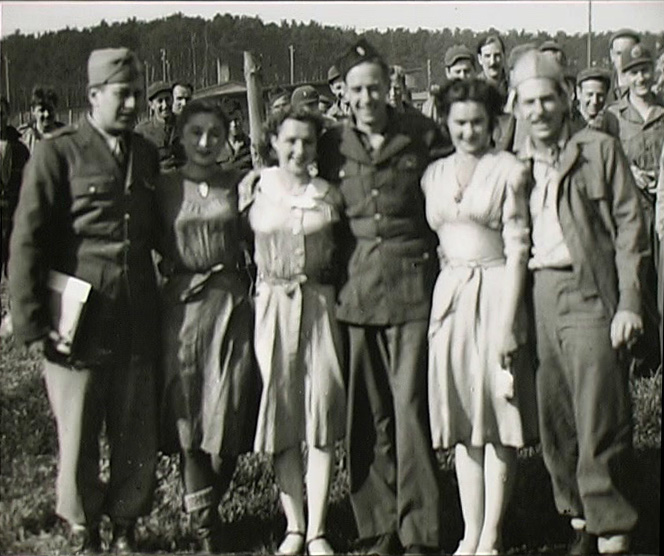
Russian Dance Troupe
girls with Stalag Luft I POW's in Barth |
Russian girls dancing |
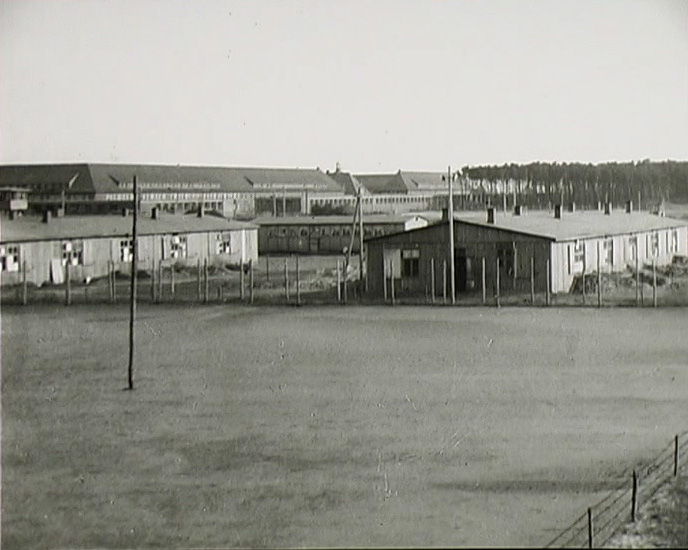
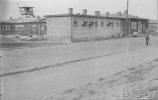
South Compound with Flak school in background |
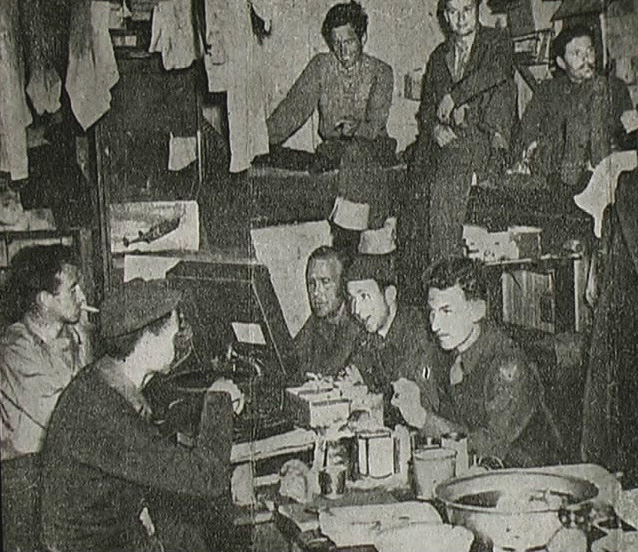
American POWs inside barracks at Stalag Luft I |
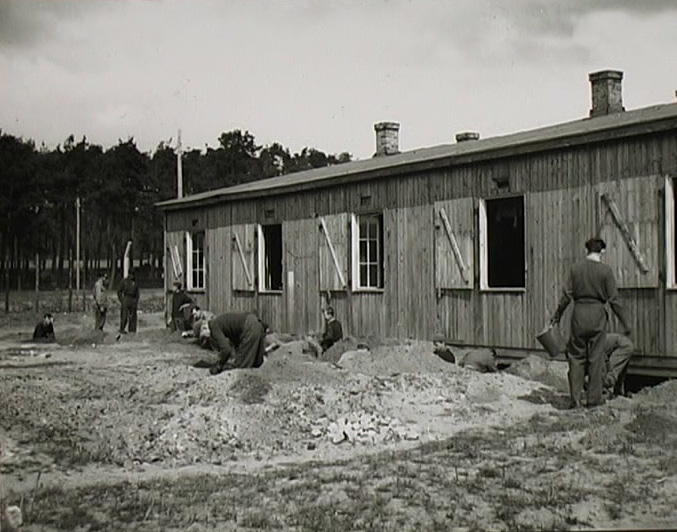
Digging slit trenches in preparation for
Russian advance. To protect the POWs in case of being caught in
a crossfire between Germans and Russians |
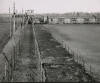
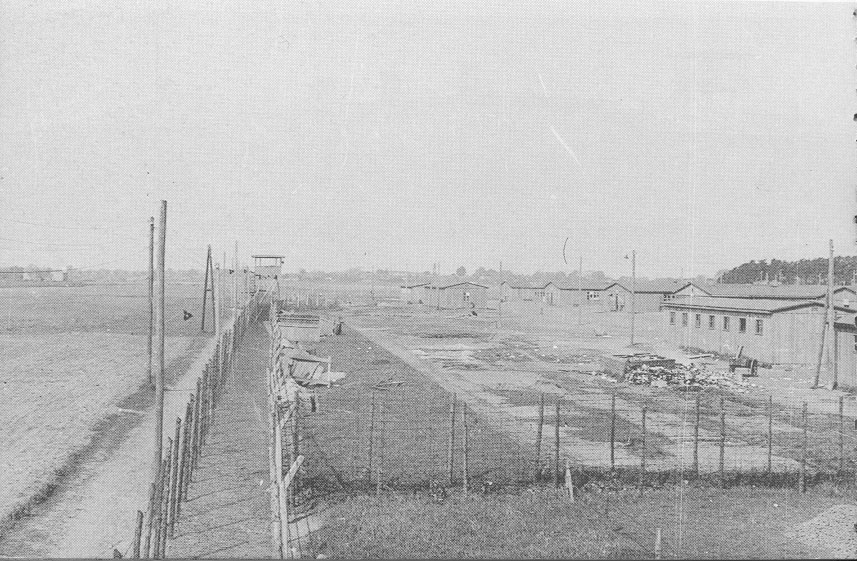
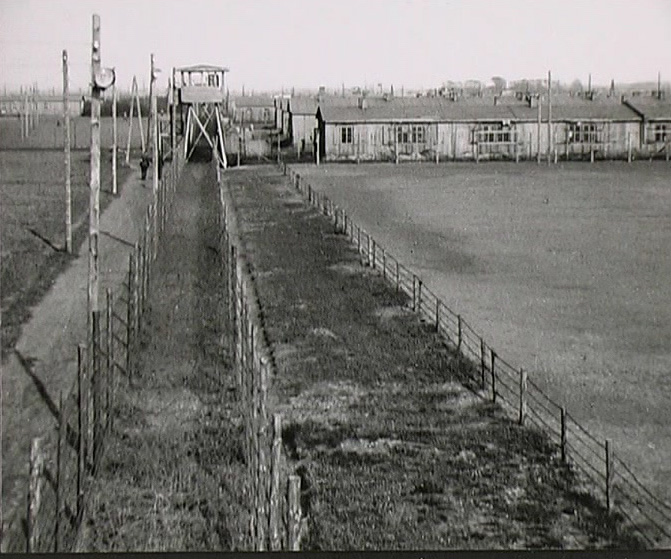
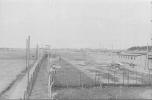
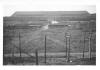
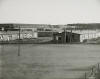
Fences at Stalag Luft I |
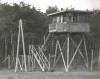
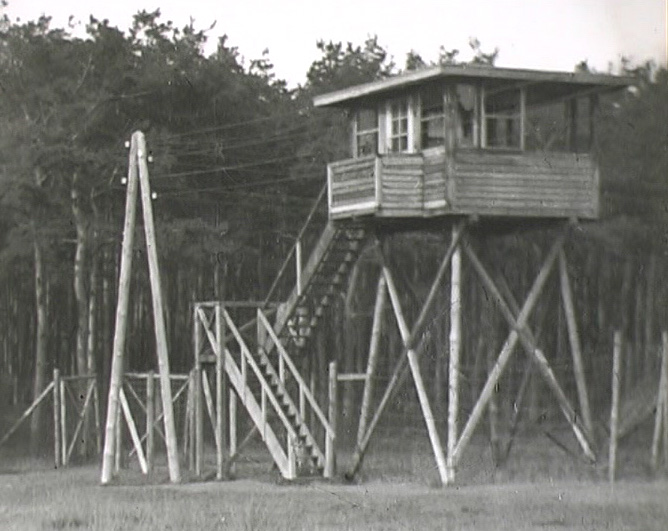
Sentry or Guard Tower at Stalag Luft I |
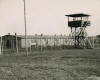
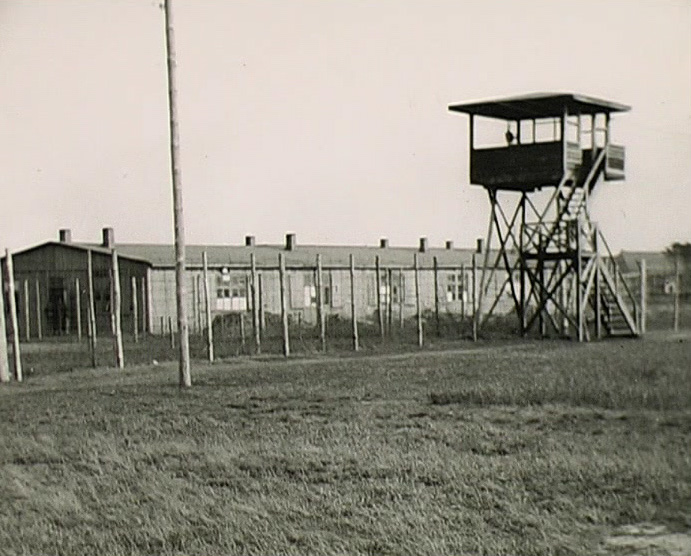
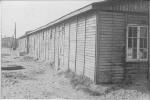
Barracks and Guard Tower at Stalag Luft I |
|
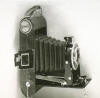
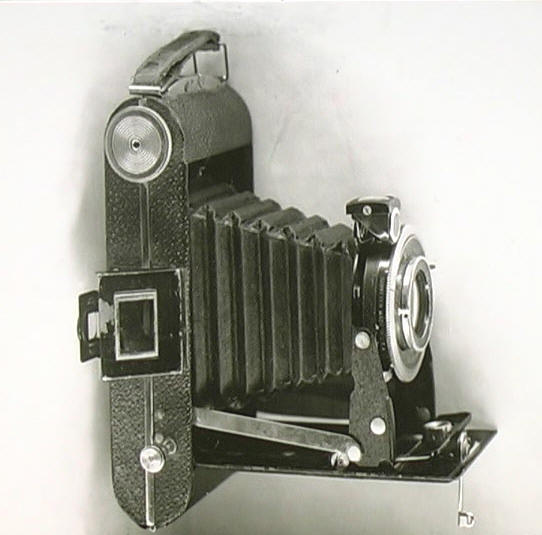
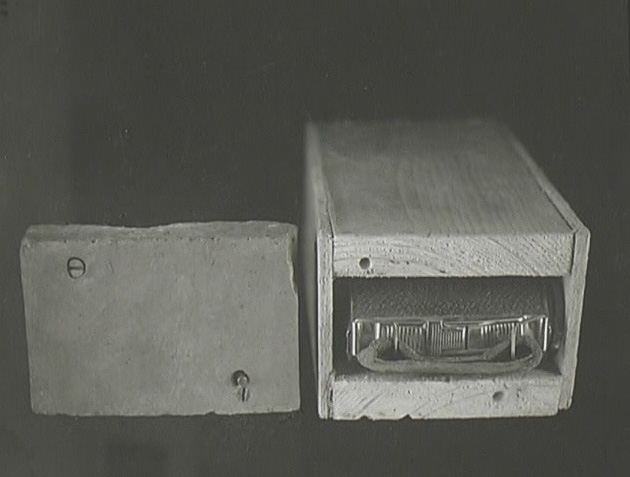
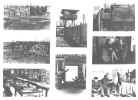
Secret camera at Stalag Luft I
Acquiring this camera by means of being smuggled in with the
personal parcels route, was of considerable help in the forgery
business. Not only did it enable a record of an original
document to be made in a relatively short time, it was an
essential for producing acceptable identity photographs for
inclusion in forgeries of identity cards. The camera came
complete with
a supply of film and
photographic
processing chemicals.
|
|

Camera in it's hiding place
Across
the middle of the barrack hut there was a brick fire-wall, a brick was
removed from the fire wall in the loft area where it was quite dark and a
wooden box was constructed to the same size as the brick; that box was just
large enough to take the folded camera. The box was fitted back into the
fire wall and a slice of brick was fixed to each end of the box to match the
rest of the wall. One of the slices of brick was removable, being fixed
with-counter-sunk
screws. The top of the screw holes were then filled with a paste, made of
chewed, German 'black' bread, that made a reasonably
good match to the texture of the brickwork, and it could easily be removed
and replaced whenever the camera was to be used. This camera was never
found by the Germans.
|
|
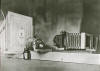
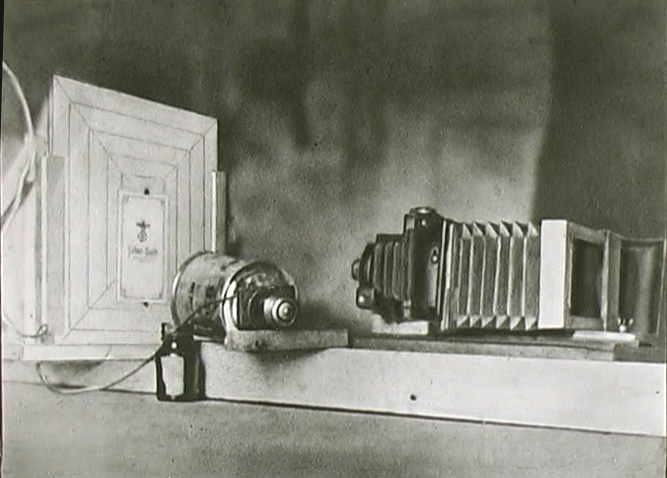
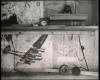
Camera set up
This photograph shows the camera when adapted to copy documents.
The arrangement included an extension bellows made from brown
paper; we could then photograph an original document at any size
we wished up to full size. To vary the reproduction size, the
camera was moved along wooden rails. There was also a sliding
copyboard to facilitate positioning of the original document;
and for illumination, a lamp in a reflector made from a
dried-milk tin.
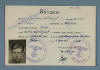
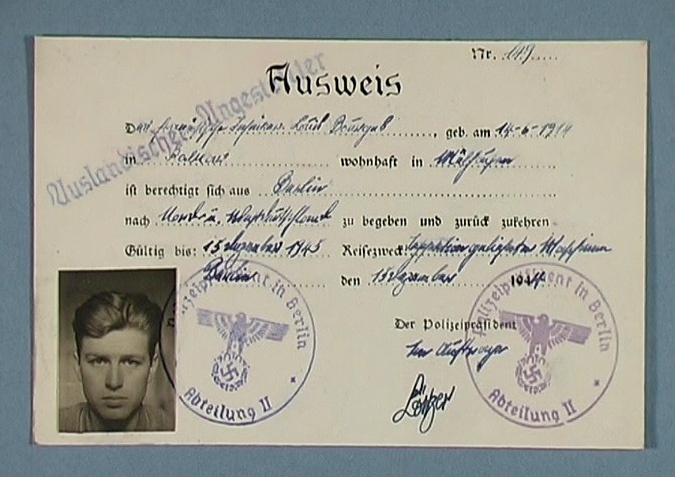
Forged pass containing a photo of an American
POW taken with the secret camera
|
|

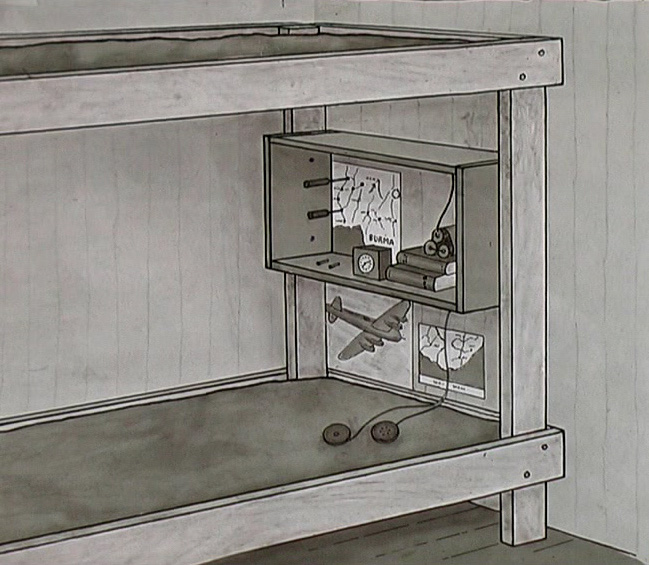
Drawing of secret radio hiding place
The radio was hid in Roy Kilminster's bunk at
Stalag Luft I - illustrated here.
|
|
Secret radio hiding place
The
radio was constructed by one of Roy's room-mates, W/O Leslie Hurrell.
Although the major components would have been acquired in the usual way by
bribing or blackmailing guards, building a working radio under the
conditions in a POW camp required considerable improvisation and
ingenuity. Finding our radio ultimately became one of the prime objectives
of abwehr searches. As the radio was relatively bulky, hiding it securely
whilst still being able to use it easily, had presented some major problems.
The radio was never found by the Germans. |
|
Actual photo of secret radio hiding place.
The wallboard with the radio on the back has been put in place,
pictures and maps from German newspapers have been pasted over
the joins of the wallboards, Roy's bunk-bed has been pushed back
into position against the wall and a book-shelf fixed over the
critical position. To make contact with the radio, wires were
pushed through holes in the wall boards. Those holes were
positioned as inconspicuously as possible and normally filled
with plugs made to match the rest of the wall. This photograph
shows the radio ready to be used. The batteries to operate the
radio are on top of the books on the bookshelf, the earphones
are resting on the blanket of Roy's bunk-bed. |
|
| |
|
|

Screwdrivers used to tune radio
To tune-in the radio stations it was necessary to adjust the two
variable capacitors in the radio by means of screwdrivers also
pushed through holes in the wallboard. Unavoidably, those holes
were in a more-exposed position and, to camouflage them, the
holes were bored through one of the newspaper maps that had been
suitably positioned on the wall.
Plugs for those holes were then disguised to look like the towns
that were genuinely part of the map. Those plugs could be
removed with a pin when the
radio
was to be used. For security, we chose a map of a remote
geographical
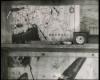
area. On the left of this map of Burma, screwdrivers can be
seen inserted through our two fictitious town. Even the most
observant guards were unlikely to have noticed anything strange
about our alteration to the topography of such a remote and
little-known area |
|

Secret radio revealed
This is the actual radio that was used to record the news
published in the secret newspaper - POW WOW.
This illustration shows a board
pried
from the inner wall of the hut with the radio fixed to the back of the
board. As can be seen from the photograph the radio was a two valve job.
|
|
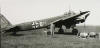
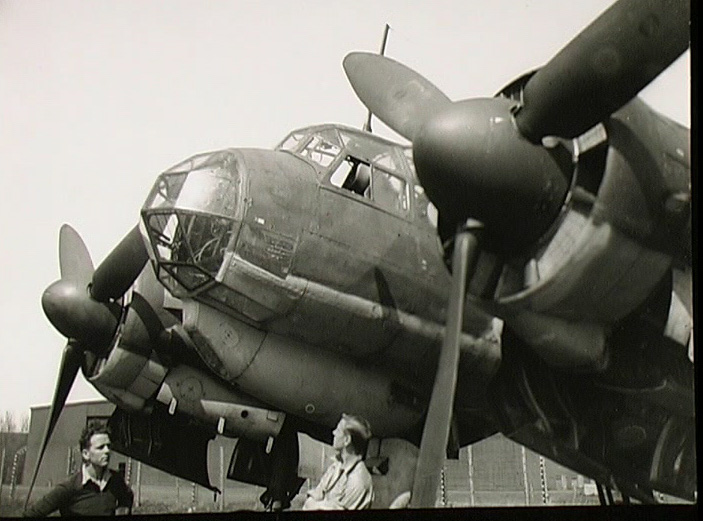
A Junkers 88
and Roy Kilminster at the Barth airport after liberation. The
bombs left lying near to this plane might be an indication of
the haste with which the Germans finally departed.
|
|
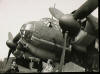
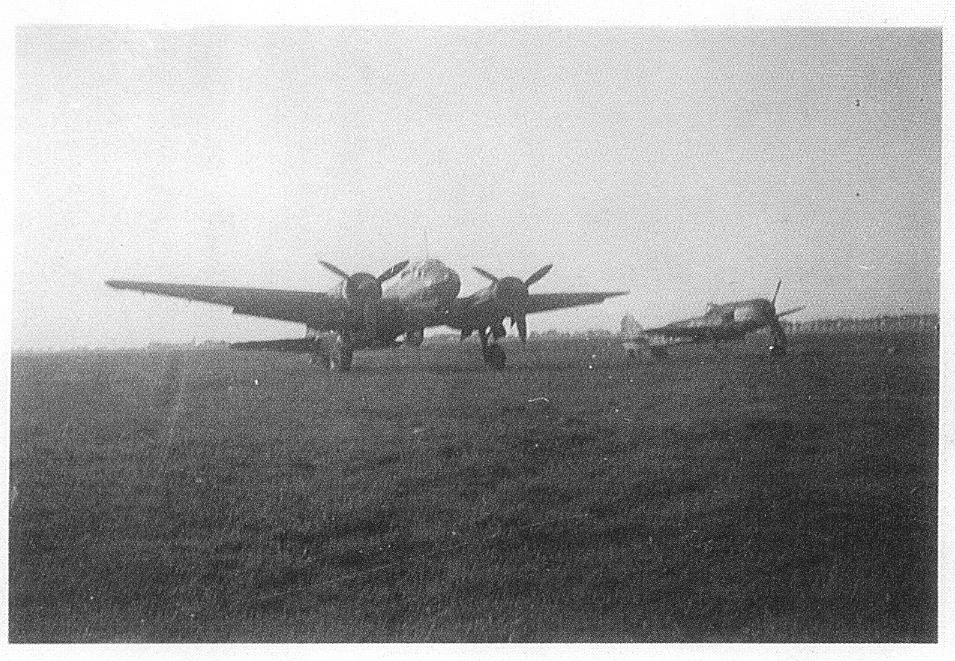
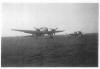
Another
Junkers 88, a fighter bomber, and a very nice looking aircraft.
|
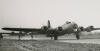
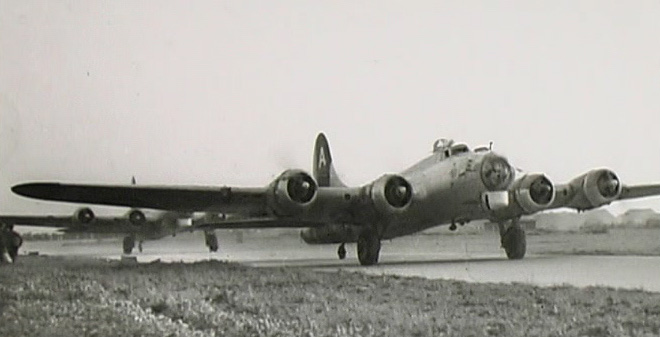
B-17 at Barth for evacuation |
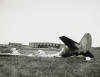
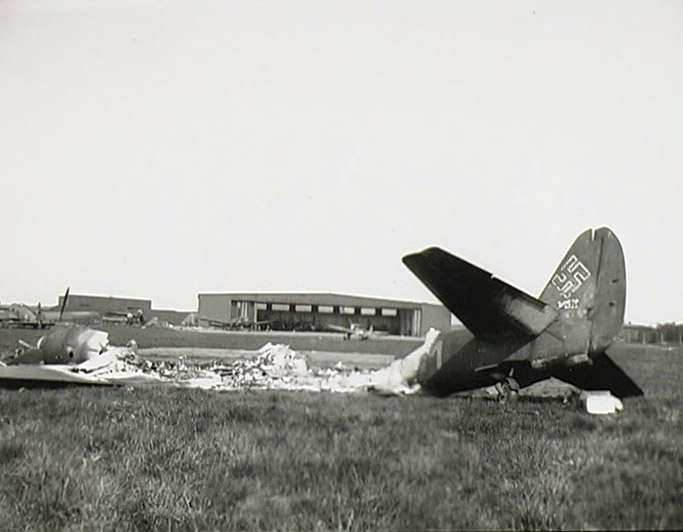
Burnt out aircraft at Barth aerodrome |
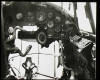
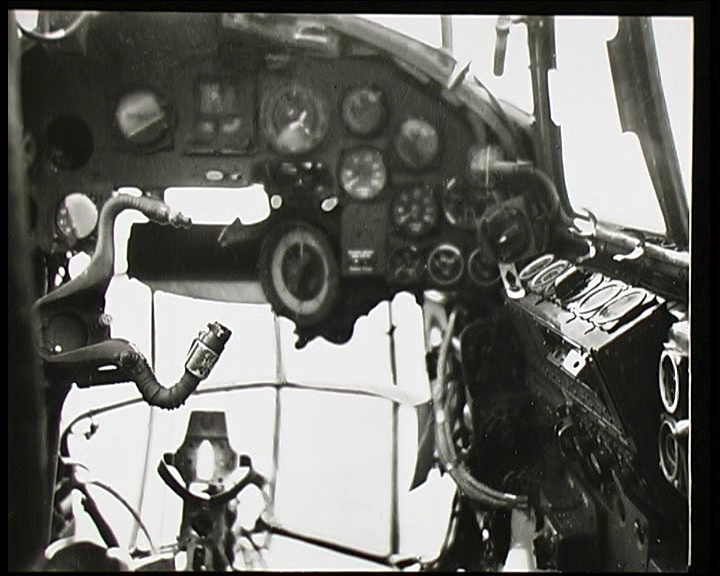
JU 88 cockpit |
| |
|
 |
 |
|
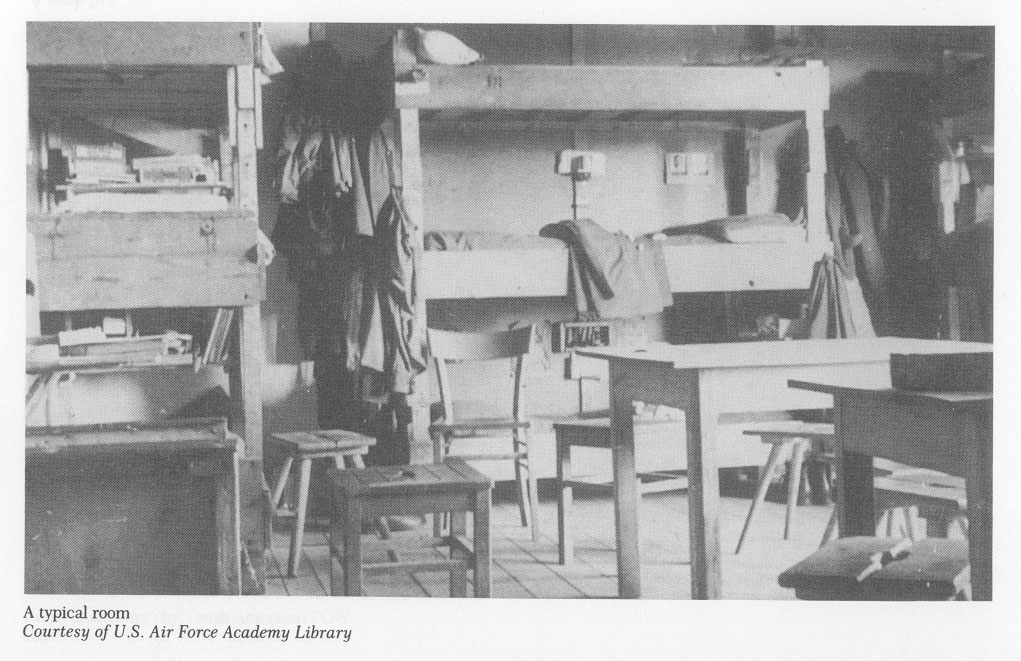
From the book Stalag Luft III
An example of a typical room in a German POW camp |
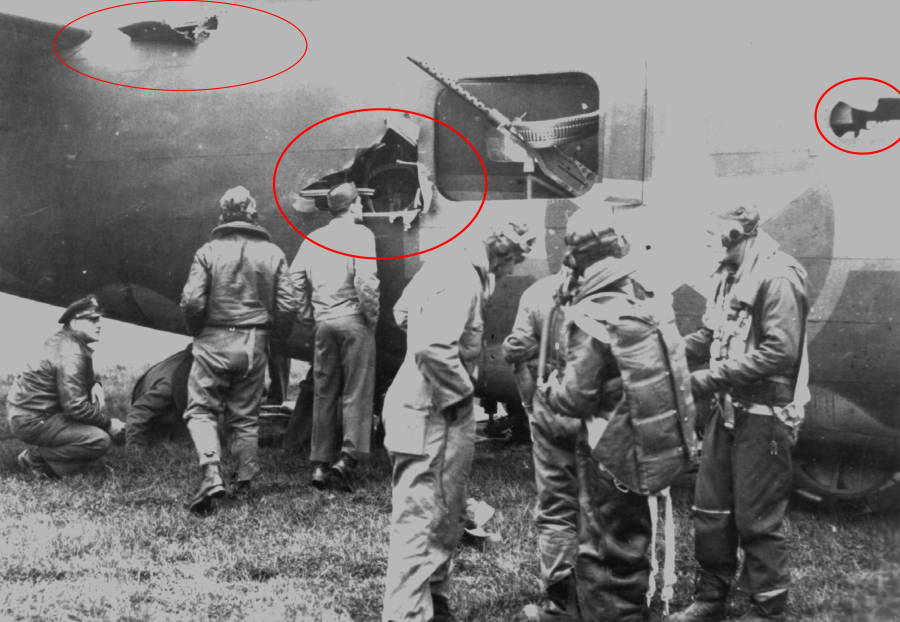
Example of flak damage to a plane that was
able to return to base. |
| |
|
Other Photo Pages: |