A
collection of stories, photos, art and information on Stalag Luft I
If you are a former Prisoner of War or a next of
kin of a POW, we invite you to sign and leave your email address so others that
come may find you. Please mention camp, compound, barracks and room numbers if
possible.
SECRETS OF THE GERMAN PRISONER-OF-WAR CAMPS
- Part 3
by Roy Kilminster
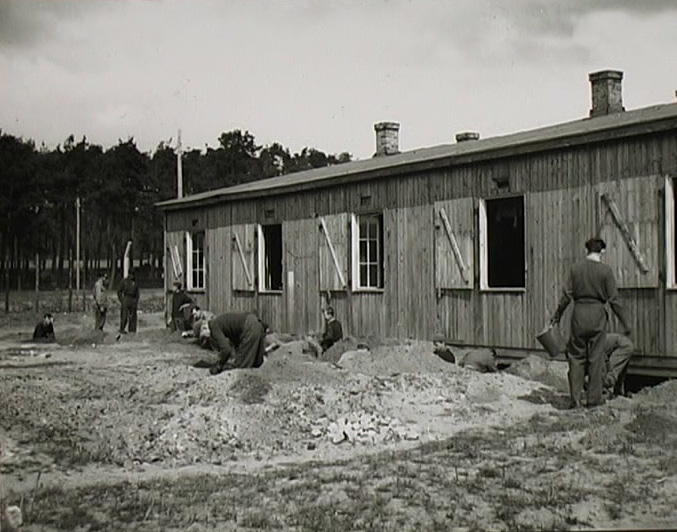
Slit-trenches
This
was the first occasion before the end of the war that I risked bringing
the camera out into the open. Towards the end of April 1945, with
Russian troops close and advancing rapidly, POWs dug slit trenches in
case there was going to be any 'rough stuff'. By now, the German
administration of the camp was sufficiently demoralised to give tacit
agreement to the operation shown in this photograph. The slit trenches
were dug using any available implement, mainly fire buckets. In the
event, our precautions turned out to be unnecessary. During the night of
April 30th, the German guards and administrative staff left the camp
without making any attempt to resist the approaching Russians. After a
day or so, British and American officers made contact with the advancing
Russian troops. At long last we were free!
Stalag Luft I was lucky, the Germans evacuated many other POW camps as
Allied armies drew near, with the prisoners forced to make extremely
hazardous marches to other areas, Hitler’s intention being to use the
prisoners as hostages. The marches were sometimes of hundreds of miles
in winter weather with little food or shelter. There were many deaths
from exposure, malnutrition and acts of war.
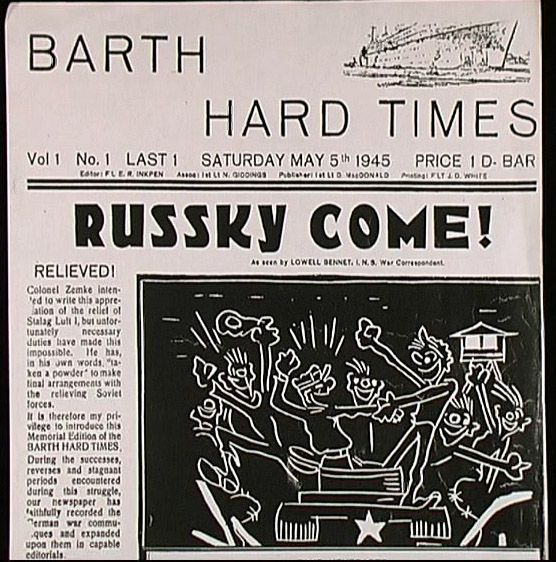
POW
Newspaper
On a more
cheerful note, for the POWs at Stalag Luft I at least, this is a
commemorative newspaper produced by the POWs after their liberation. To
explain the headline, 'Russky Come', over the preceding months, as the
Russians had steadily gained ground on the Eastern Front, POWs often
greeted camp guards with that mild, but no-doubt rather dispiriting
taunt.
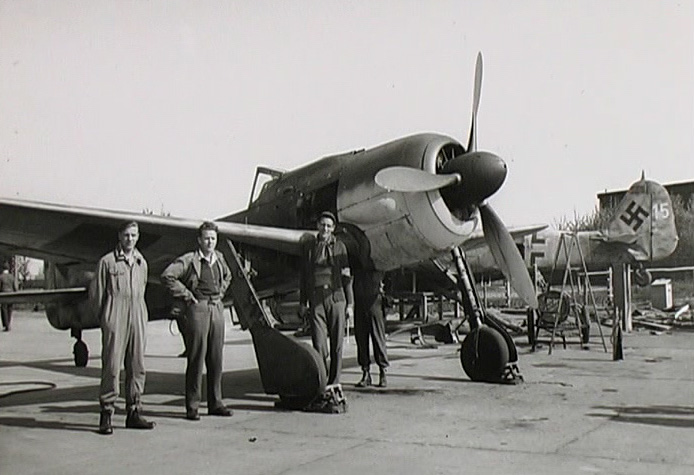
FW190
With the liberation of
Stalag Luft I, we were able to roam about much as we pleased and, with a
few days wait while an airlift was being organised to fly the POWs back
to England, the opportunity was taken to explore an adjacent flak school
and the local aerodrome. So, a few shots now of abandoned German
aircraft on the aerodrome. Here we have one of their main fighter
aircraft, a Focke-Wulf 190.
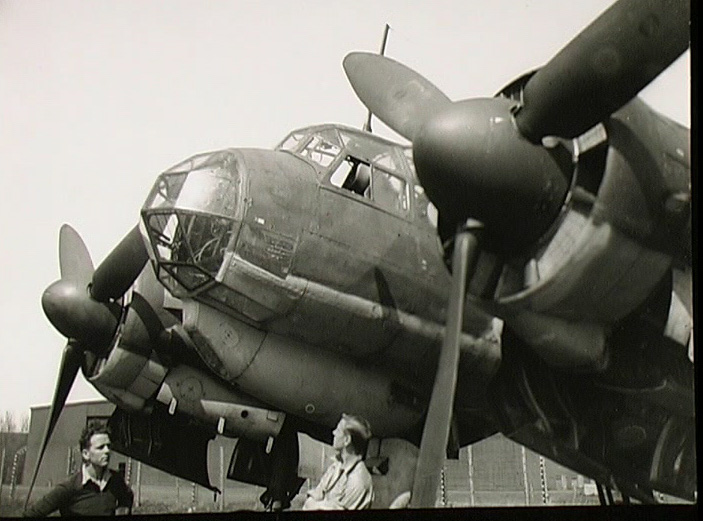
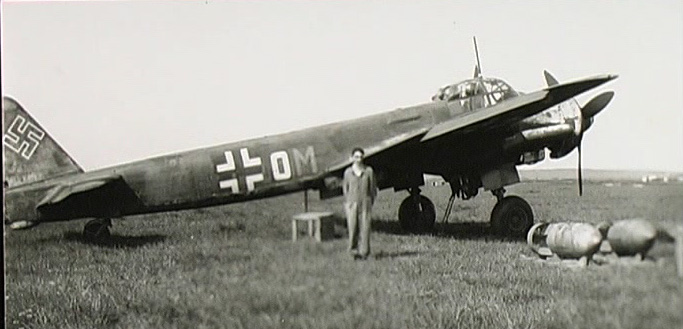
A Junkers 88, a fighter bomber, and
a very nice looking aircraft.
Another
Junkers 88 and myself. The bombs left lying near to this plane might be
an indication of the haste with which the Germans finally departed.
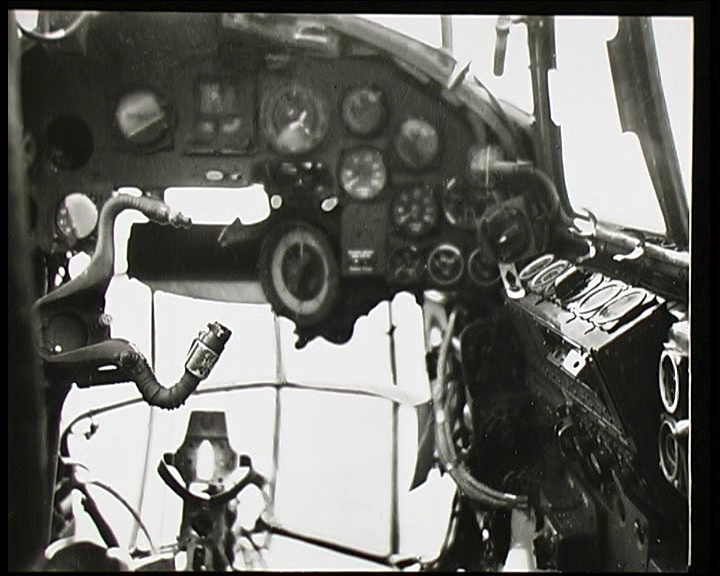
Cockpit of JU88
Inside the
cockpit of one of the Junkers 88s.
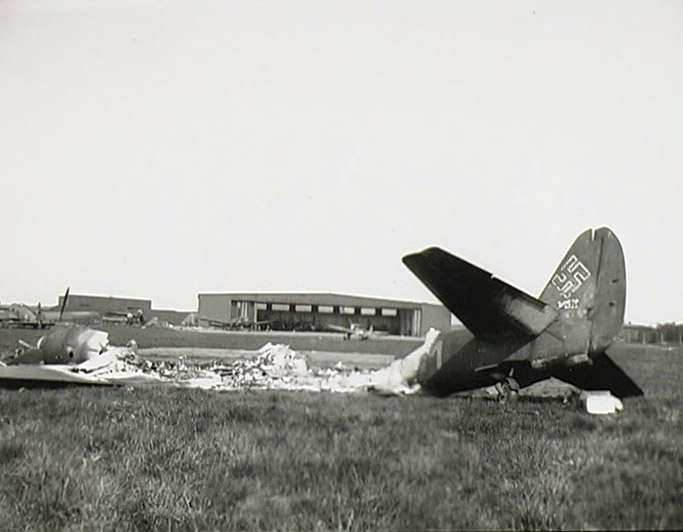
Burnt out aircraft. Hardly an airworthy aircraft, this one.
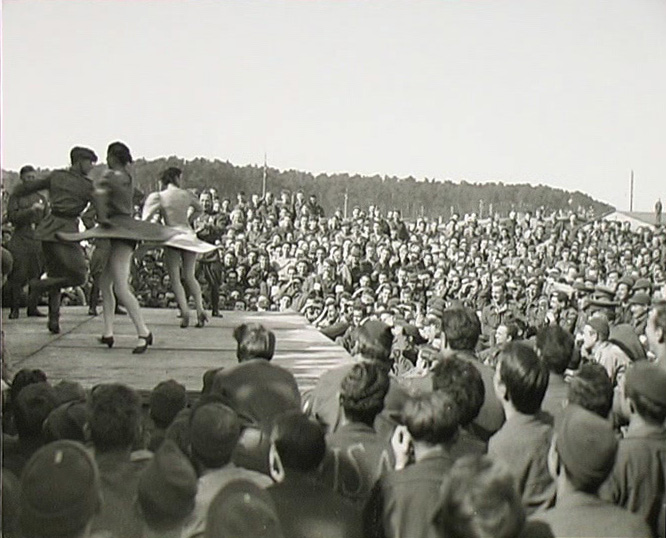
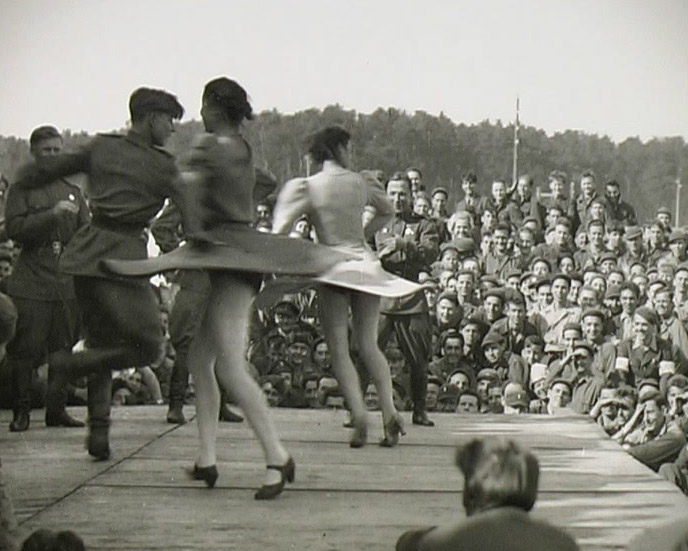
RUSSKY
Russian
Show
You may find this
photograph a little surprising, talk about a holiday camp. The Russians
put on a show for us, their equivalent, I suppose, of our wartime ENSA
concerts.
As you may imagine, after being monastically cooped up for so long, we
appreciated
the dancing girls.
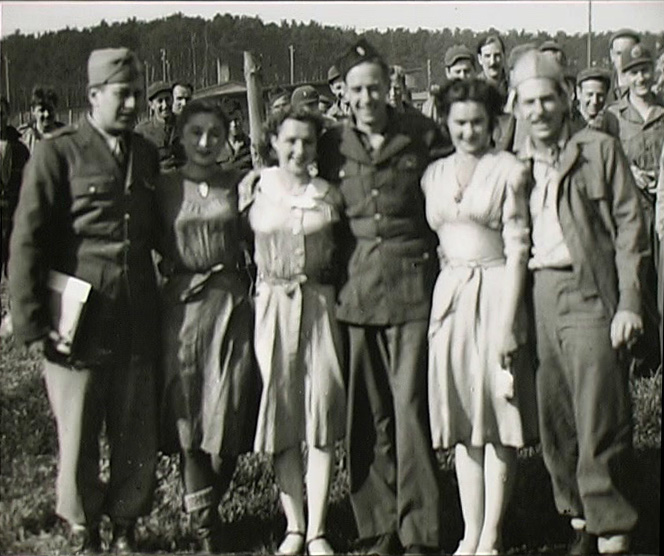
American
boys and Russian girls get together after the show. The camaraderie at
Stalag Luft I between the Russians and the Allies was in contrast
to that experienced by Allied prisoners at some other camps relieved by
Russian troops. There were instances where the Russians held on to some
British pows until the Western Allies agreed to return some Russian
nationals who had been fighting on the German side and who, with good
reason, were reluctant to be repatriated to their own country.
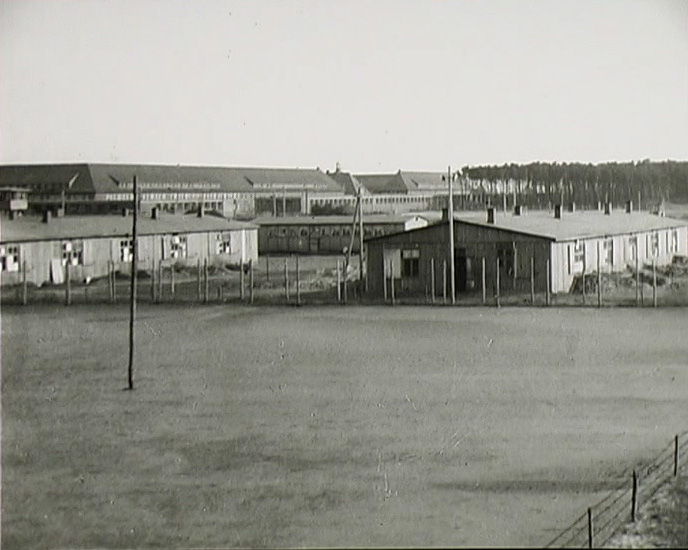
Flak
School
A final view of Stalag
Luft I. The extensive building in the background of this photograph is
the flak school mentioned a little earlier. It was there that
German anti-aircraft gunners were trained in the radio location of
aircraft.
The flak school was never bombed by Allied aircraft, perhaps because,
contrary to the Geneva convention, it was situated so near to the prisoner-of-war
camp.
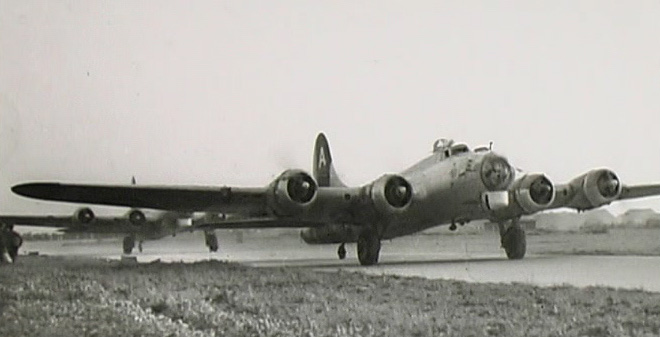
B17s
After
three and a half years in my case, and over five years for some, thiswas the day we had all been dreaming
of. The photograph shows American B17s, the Flying Fortress, queuing-up
at the local airfield to airlift the pows back to England.
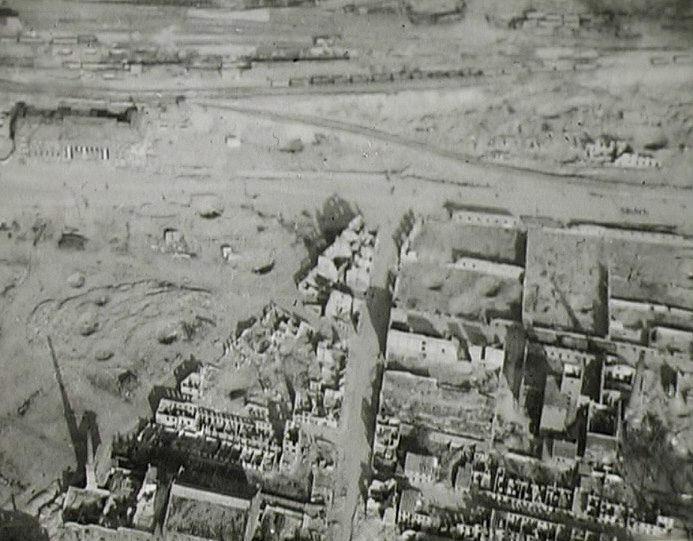
Hamburg
On
the way home we flew over part of Hamburg. I think that the picture speaks
for itself.
THE FINAL TALLY
The majority of this
narrative has been on a fairly relaxed note, but the grimmer
side of the air war should not be altogether forgotten, and to put this
tale into some sort of perspective, a few statistics are perhaps appropriate
at this stage.
RAF Badge
By
the end of the war, there were about
10,000 RAF prisoners-of-war in Germany,
and at least a similar number of American aircrew prisoners. For every
RAF aircrew survivor as a prisoner-of-war, about five other RAF bomber
aircrew had lost their lives: more
than 55,000 in all.
Altogether, there must
have been several hundreds of RAF prisoners who attempted to escape from
POW camps in Germany. In spite of the courage and initiative of the
individual escapers, and in spite of all the efforts of the various
supporting teams, for most of those who did manage to get outside the
wire, the odds were finally too great and they were recaptured.
Highlighting the immense,
but inevitably largely unsuccessful efforts that went into escape work,
the hundred or so tunnels undertaken at Stalag Luft I were instrumental
in assisting only one escaper to get back to England.
Whilst in my own area of
work, perhaps as few as one in three of my forgeries were eventually
used for an escape attempt.
One other escaper from
Stalag Luft I also succeeded in reaching England. Both of the completely
successful escapes from Stalag Luft I occurred during the first
occupation of the camp. During the period covered by this narrative,
about a dozen people were successful in getting outside the camp by
various means, although all of those escapers were recaptured.
There were several
successful escapes from other camps, however, and in total, nearly
thirty RAF escapers eventually reached England or neutral territory. The
escapes that did occur meant that at times many thousands of German
troops were occupied in hunting for the escapers. On a smaller scale,
the undercover activities in the POW camps also tied up many abwehr
staff.
Although I have not seen
figures for the number of RAF prisoners who lost their lives in escape
attempts, many individuals were recorded as being shot during their
attempts at escape, so that the total number has to be well in excess of
the fifty who were murdered by the Gestapo, following the 'Great Escape'
from Stalag Luft III. The final tally therefore, still means that, for
every prisoner-of-war who achieved a successful escape, at least two
others had lost their lives in trying to escape from Germany.
EPILOGUE
It was mentioned in the
early part of the video that I was one of theluckier ones during the war and,
illustrating that aspect rather more poignantly, there are a final few
photographs that I feel should be included to complete both the personal
and the historical aspects of this record.
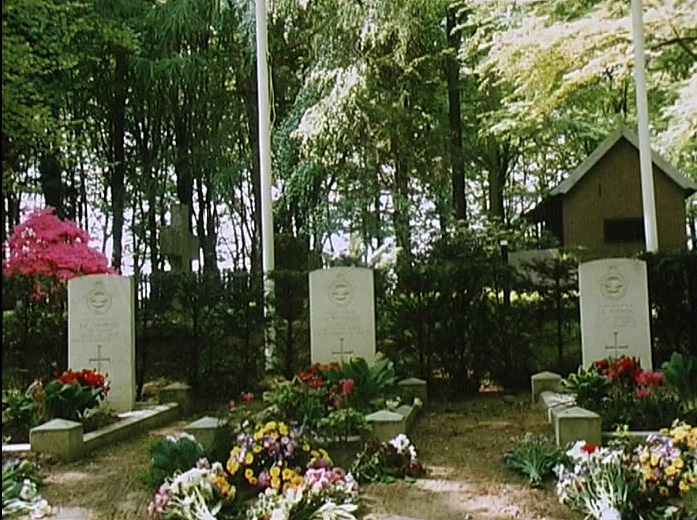
Graves at Rozendaal
The graves at Rozendaal in
Holland of three members of my own crew who, for reasons that we will
never know, failed to get out of the burning Halifax on that fateful
night in 1941.
Grave of Pilot
The centre grave, that of
Pilot Officer Whitaker, the captain of our Halifax bomber, and just
twenty years old. It must have been due to the courage and skill of P/OWhitaker that, perhaps at the expense of his own life, four of the
crew were able to escape from the aircraft unharmed.
It was not until 1990 that
I visited these graves for the first time, and there was an unexpected
sequel to that visit.
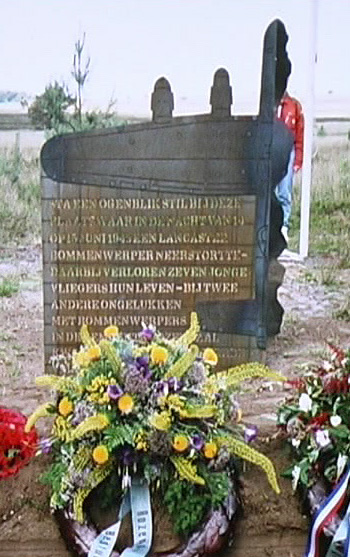
In 1993, I was invited to
join with the mayor of Rozendaal in unveiling amonument to fifteen wartime
Allied aircrew, including the three from my own aircraft, who had lost
their lives in the locality of Rozendaal. The photograph
shows the monument, representing part of a Lancaster bomber,
after the unveiling ceremony.
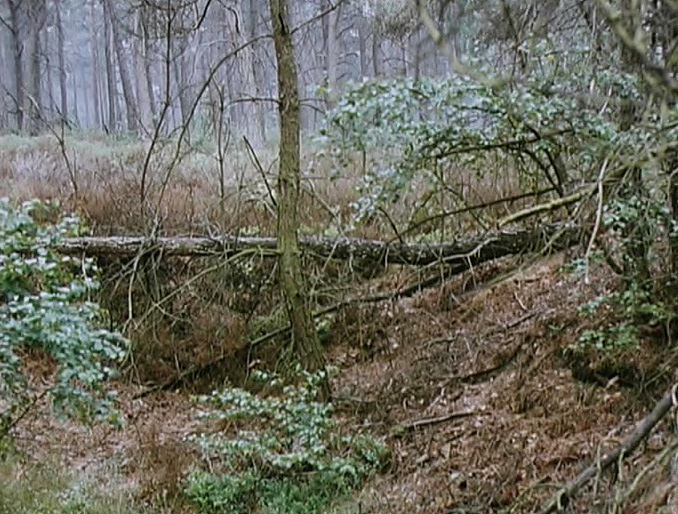
Crash Site
This
final photograph shows the setting for another memorable experience
during that visit to Rozendaal, I was taken to the spot where my
aircrafthad hit
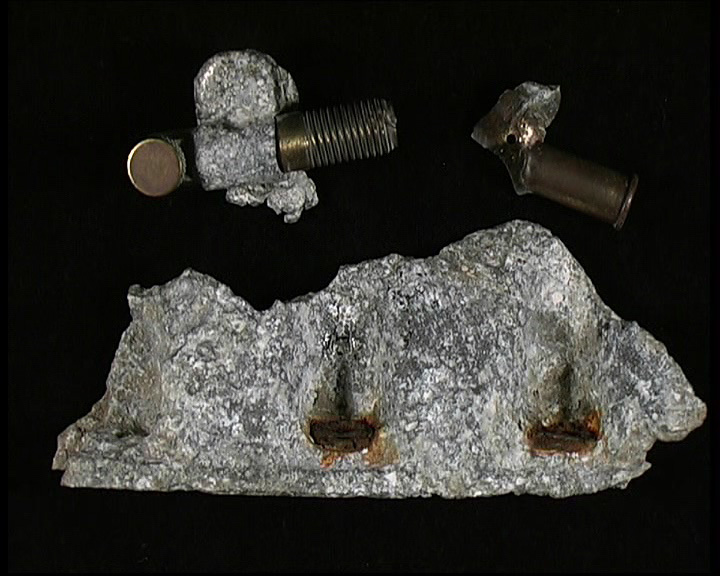
the ground all those years before. Perhaps the most surprising aspect,
was finding that there were still
some small fragments of the aircraft lying around. To end this story
then, the last illustration shows a few fragments of my Halifax that,
after 52 years, I was able to recover from the crash site.